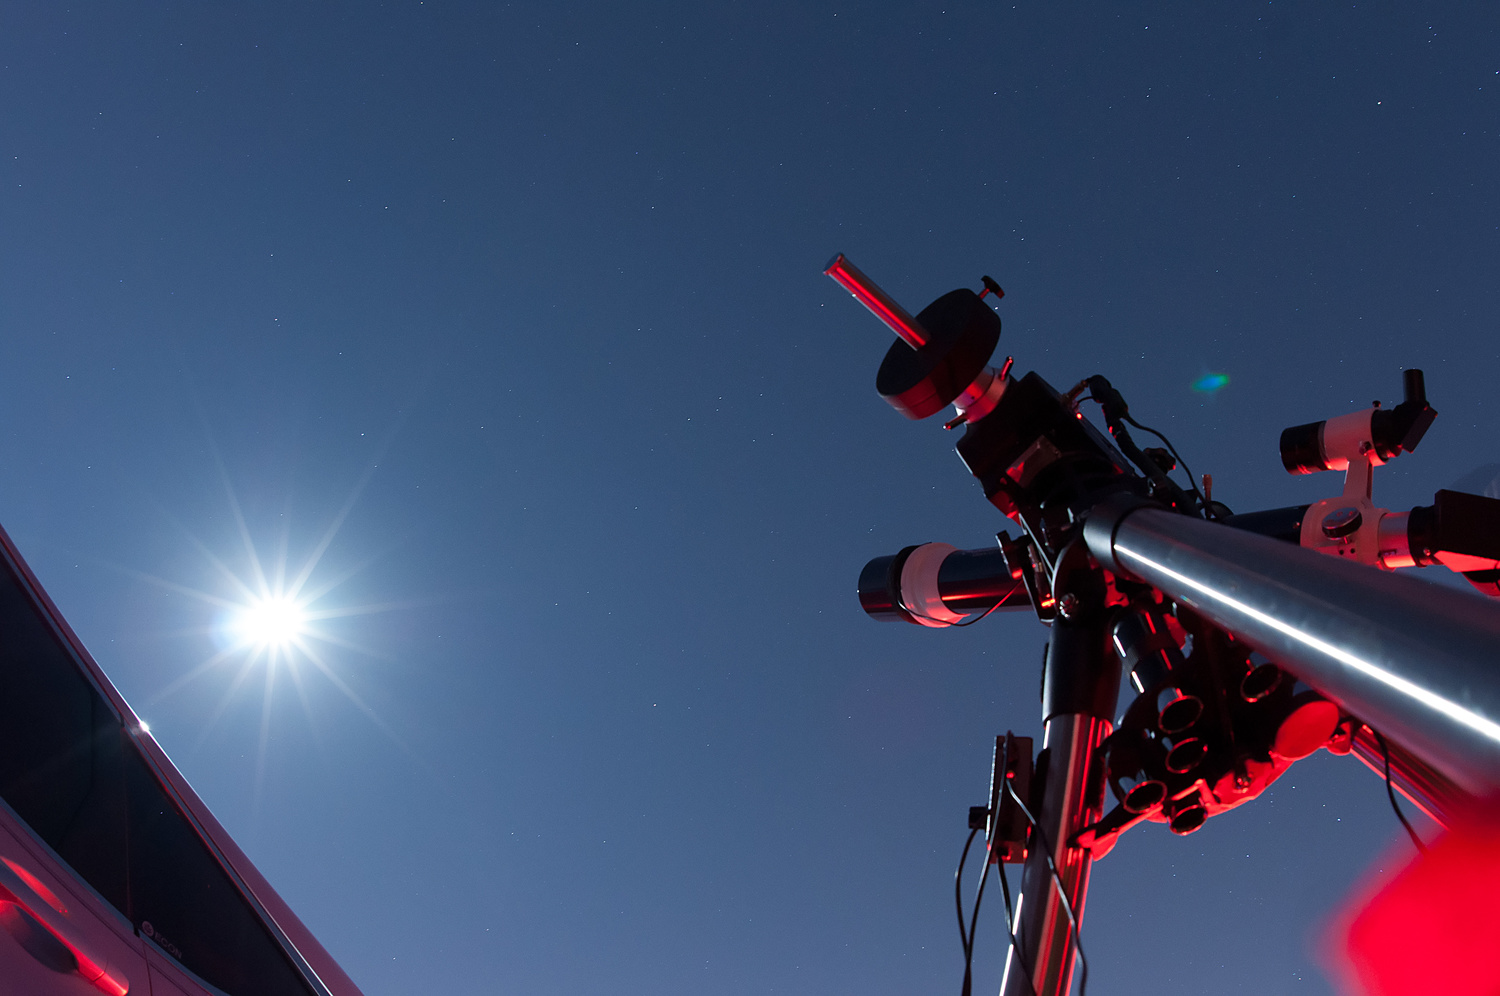
Atlas Pro Mount Tune-Up and Timing Belt Replacement

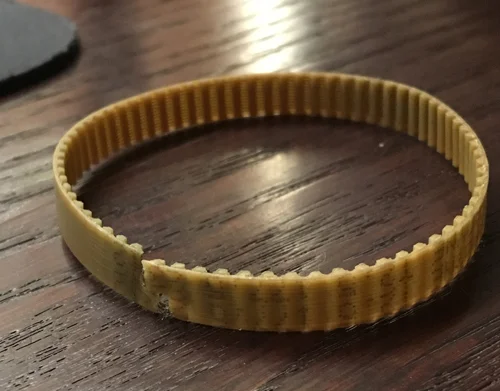
Last month my Orion Altlas Pro mount was not working as expected. I was hearing a grinding noise when I slewed in declination. After a quick inspection of the timing belts that engage the worm gears, I found one of them had a tear.
Getting a replacement part was not as easy as it should have been. I took several calls to Orion, only to find out they don’t stock as replacement parts. After a week or so of waiting they called me back and said they would send me the part but still needed to work out the pricing because “it’s not something we normal sell”.
The final bill from Orion was $40.00!. $30 for the belt and $10.00 for shipping, that’s pretty steep for a $3 dollar belt that could have been sent via USPS mail for a couple of of postage stamps if you ask me.
On another note, I did find a belt timing belt company that has the same belt for half the Orion cost and order 2 from them to have as spares. Once they arrive I will compare them to the OEM part and see if they work.

Update! The belts from Michigan Industrial are the same same specs as the ones from Orion.
The company is called Michigan Industrial Belting Inc and there website URL is www.mibelting.com and I ordered 2 (71 Tooth, 177.5mm in Length x 6mm Width Polyurethane Timing Belts).
While waiting for a replacement part, I decided to tear down the mount head and give it a tune-up. I found a great resource on cloudy nights written by Phil Brewer (pbkoden) for doing just this, a step by step Atlas Pro Disassembly Guide PDF.
Using Phil’s guide I was able to completely disassemble the mount and get it ready for re-greasing. I did have a problem with one part that would not come off, the mount head casting (page #3 on the guide) It wasn’t necessary in order to complete my objective of tuning up the mount.
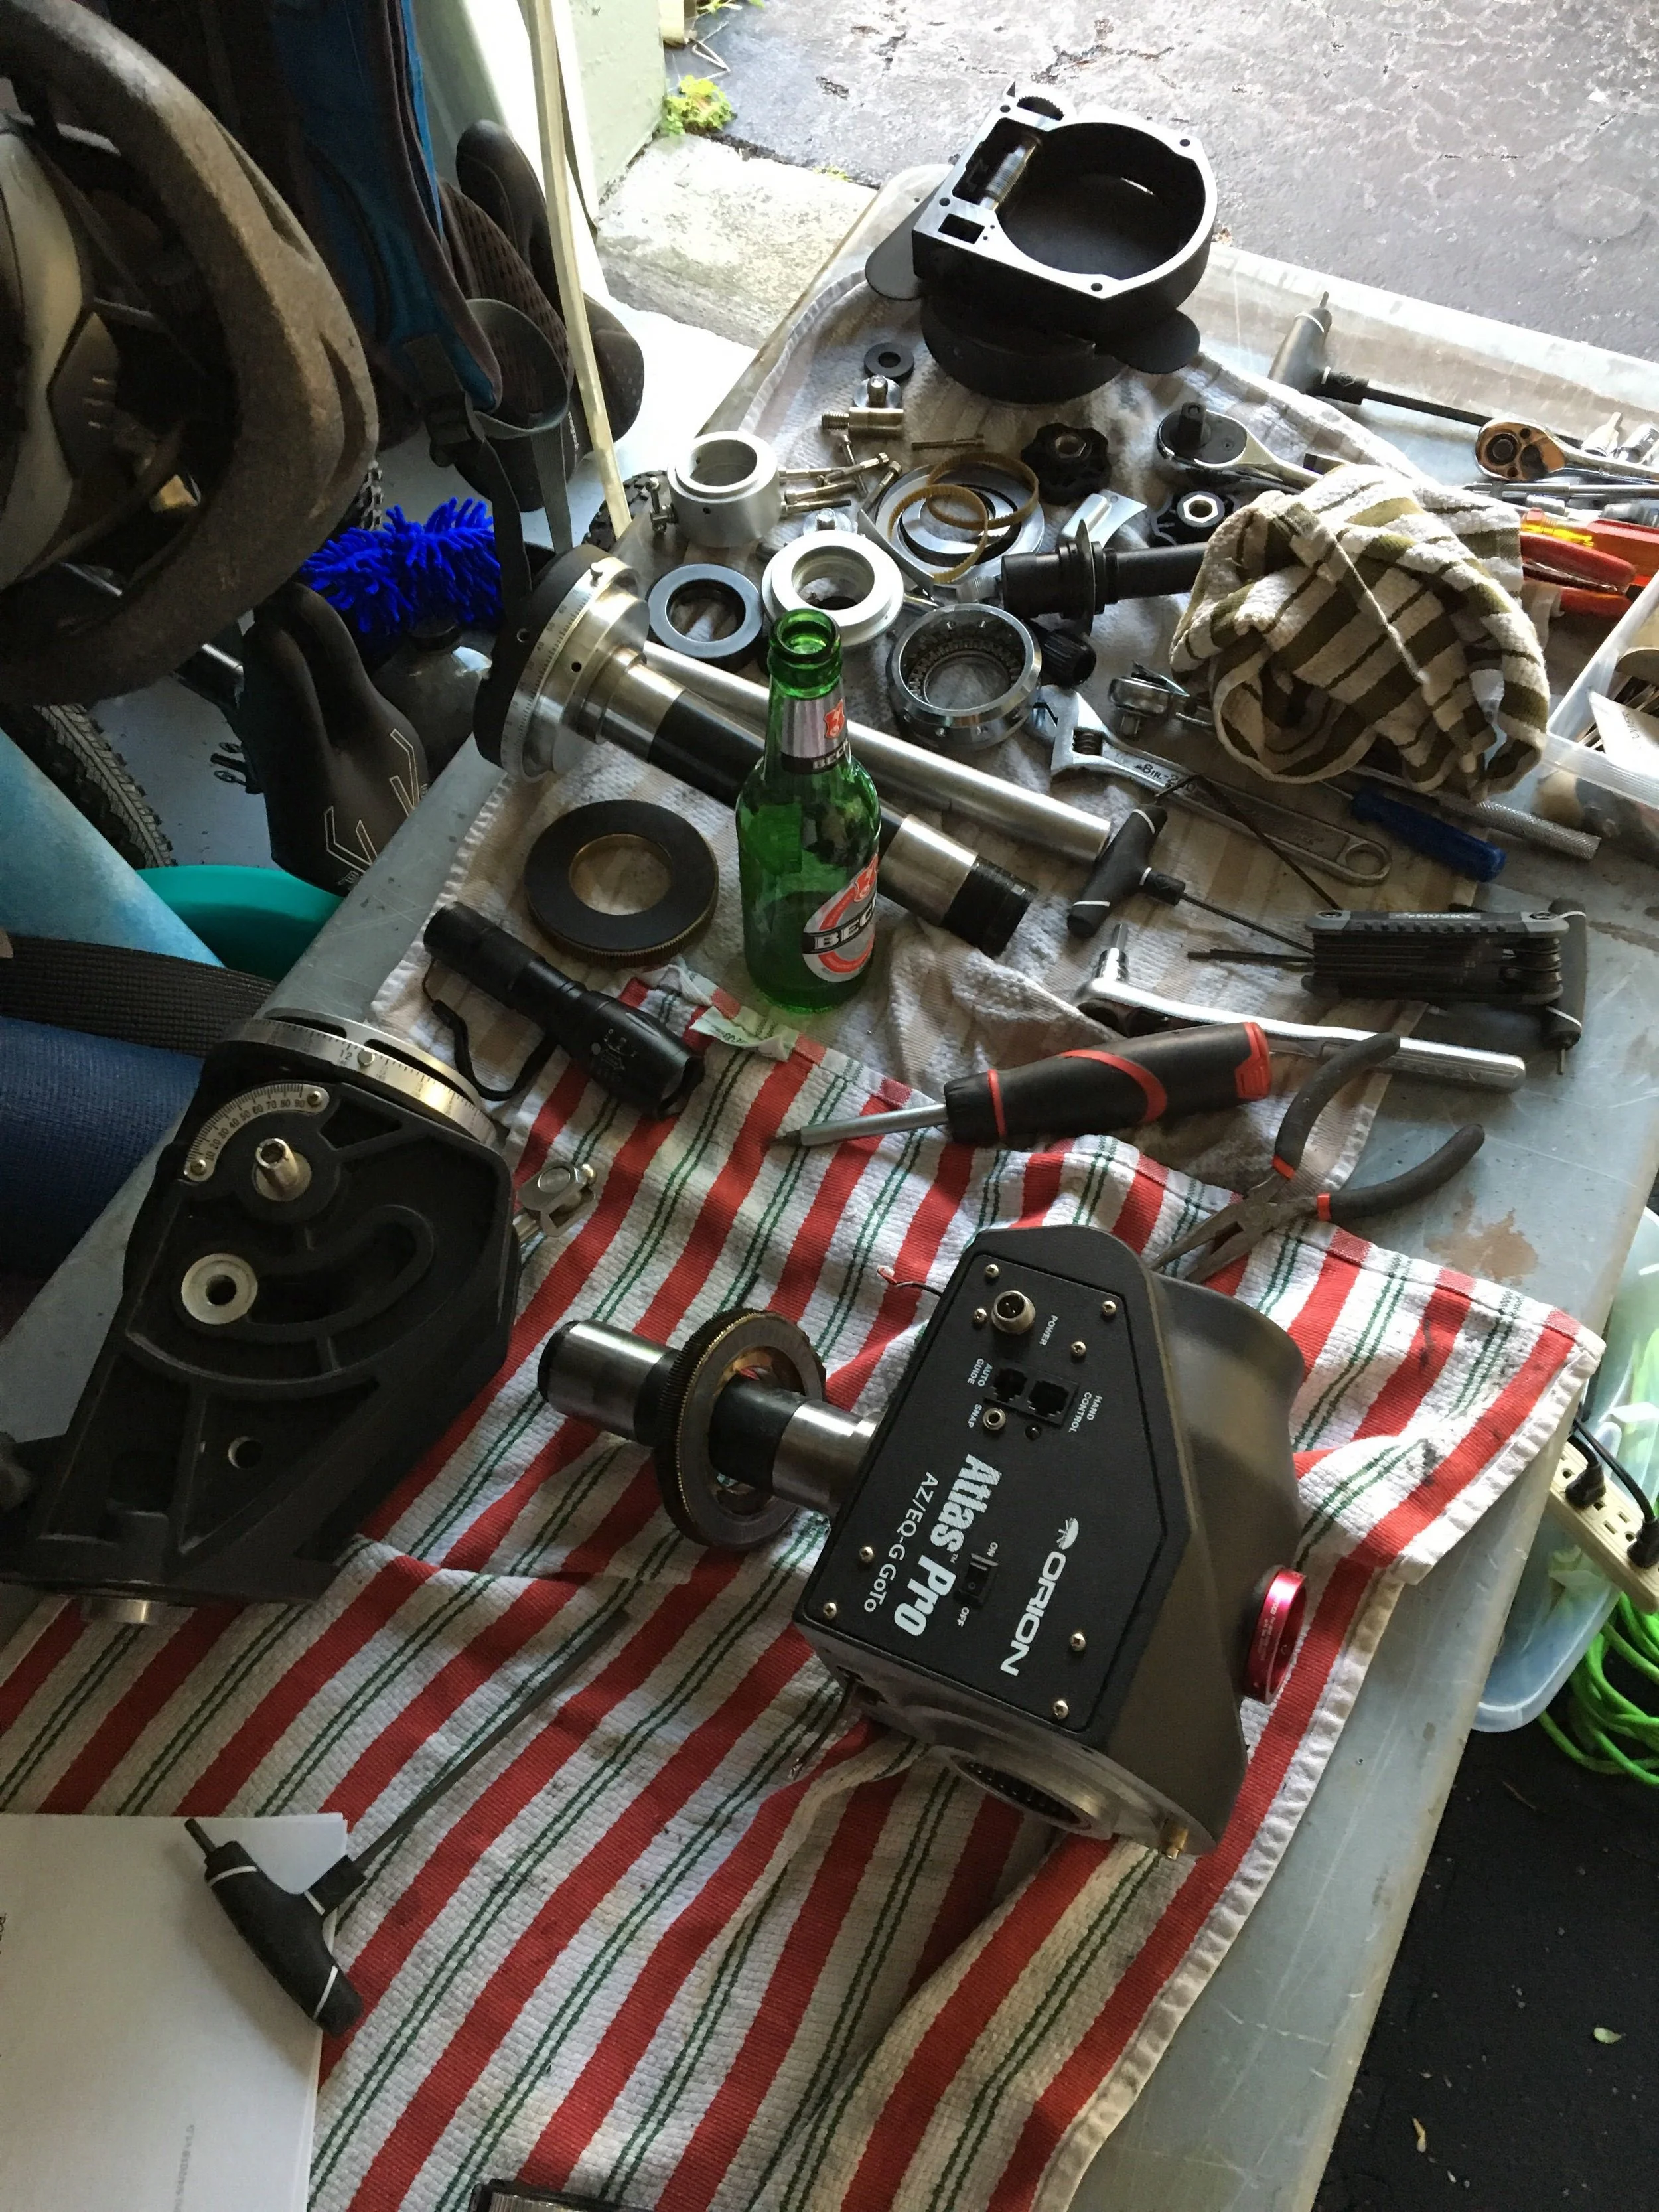
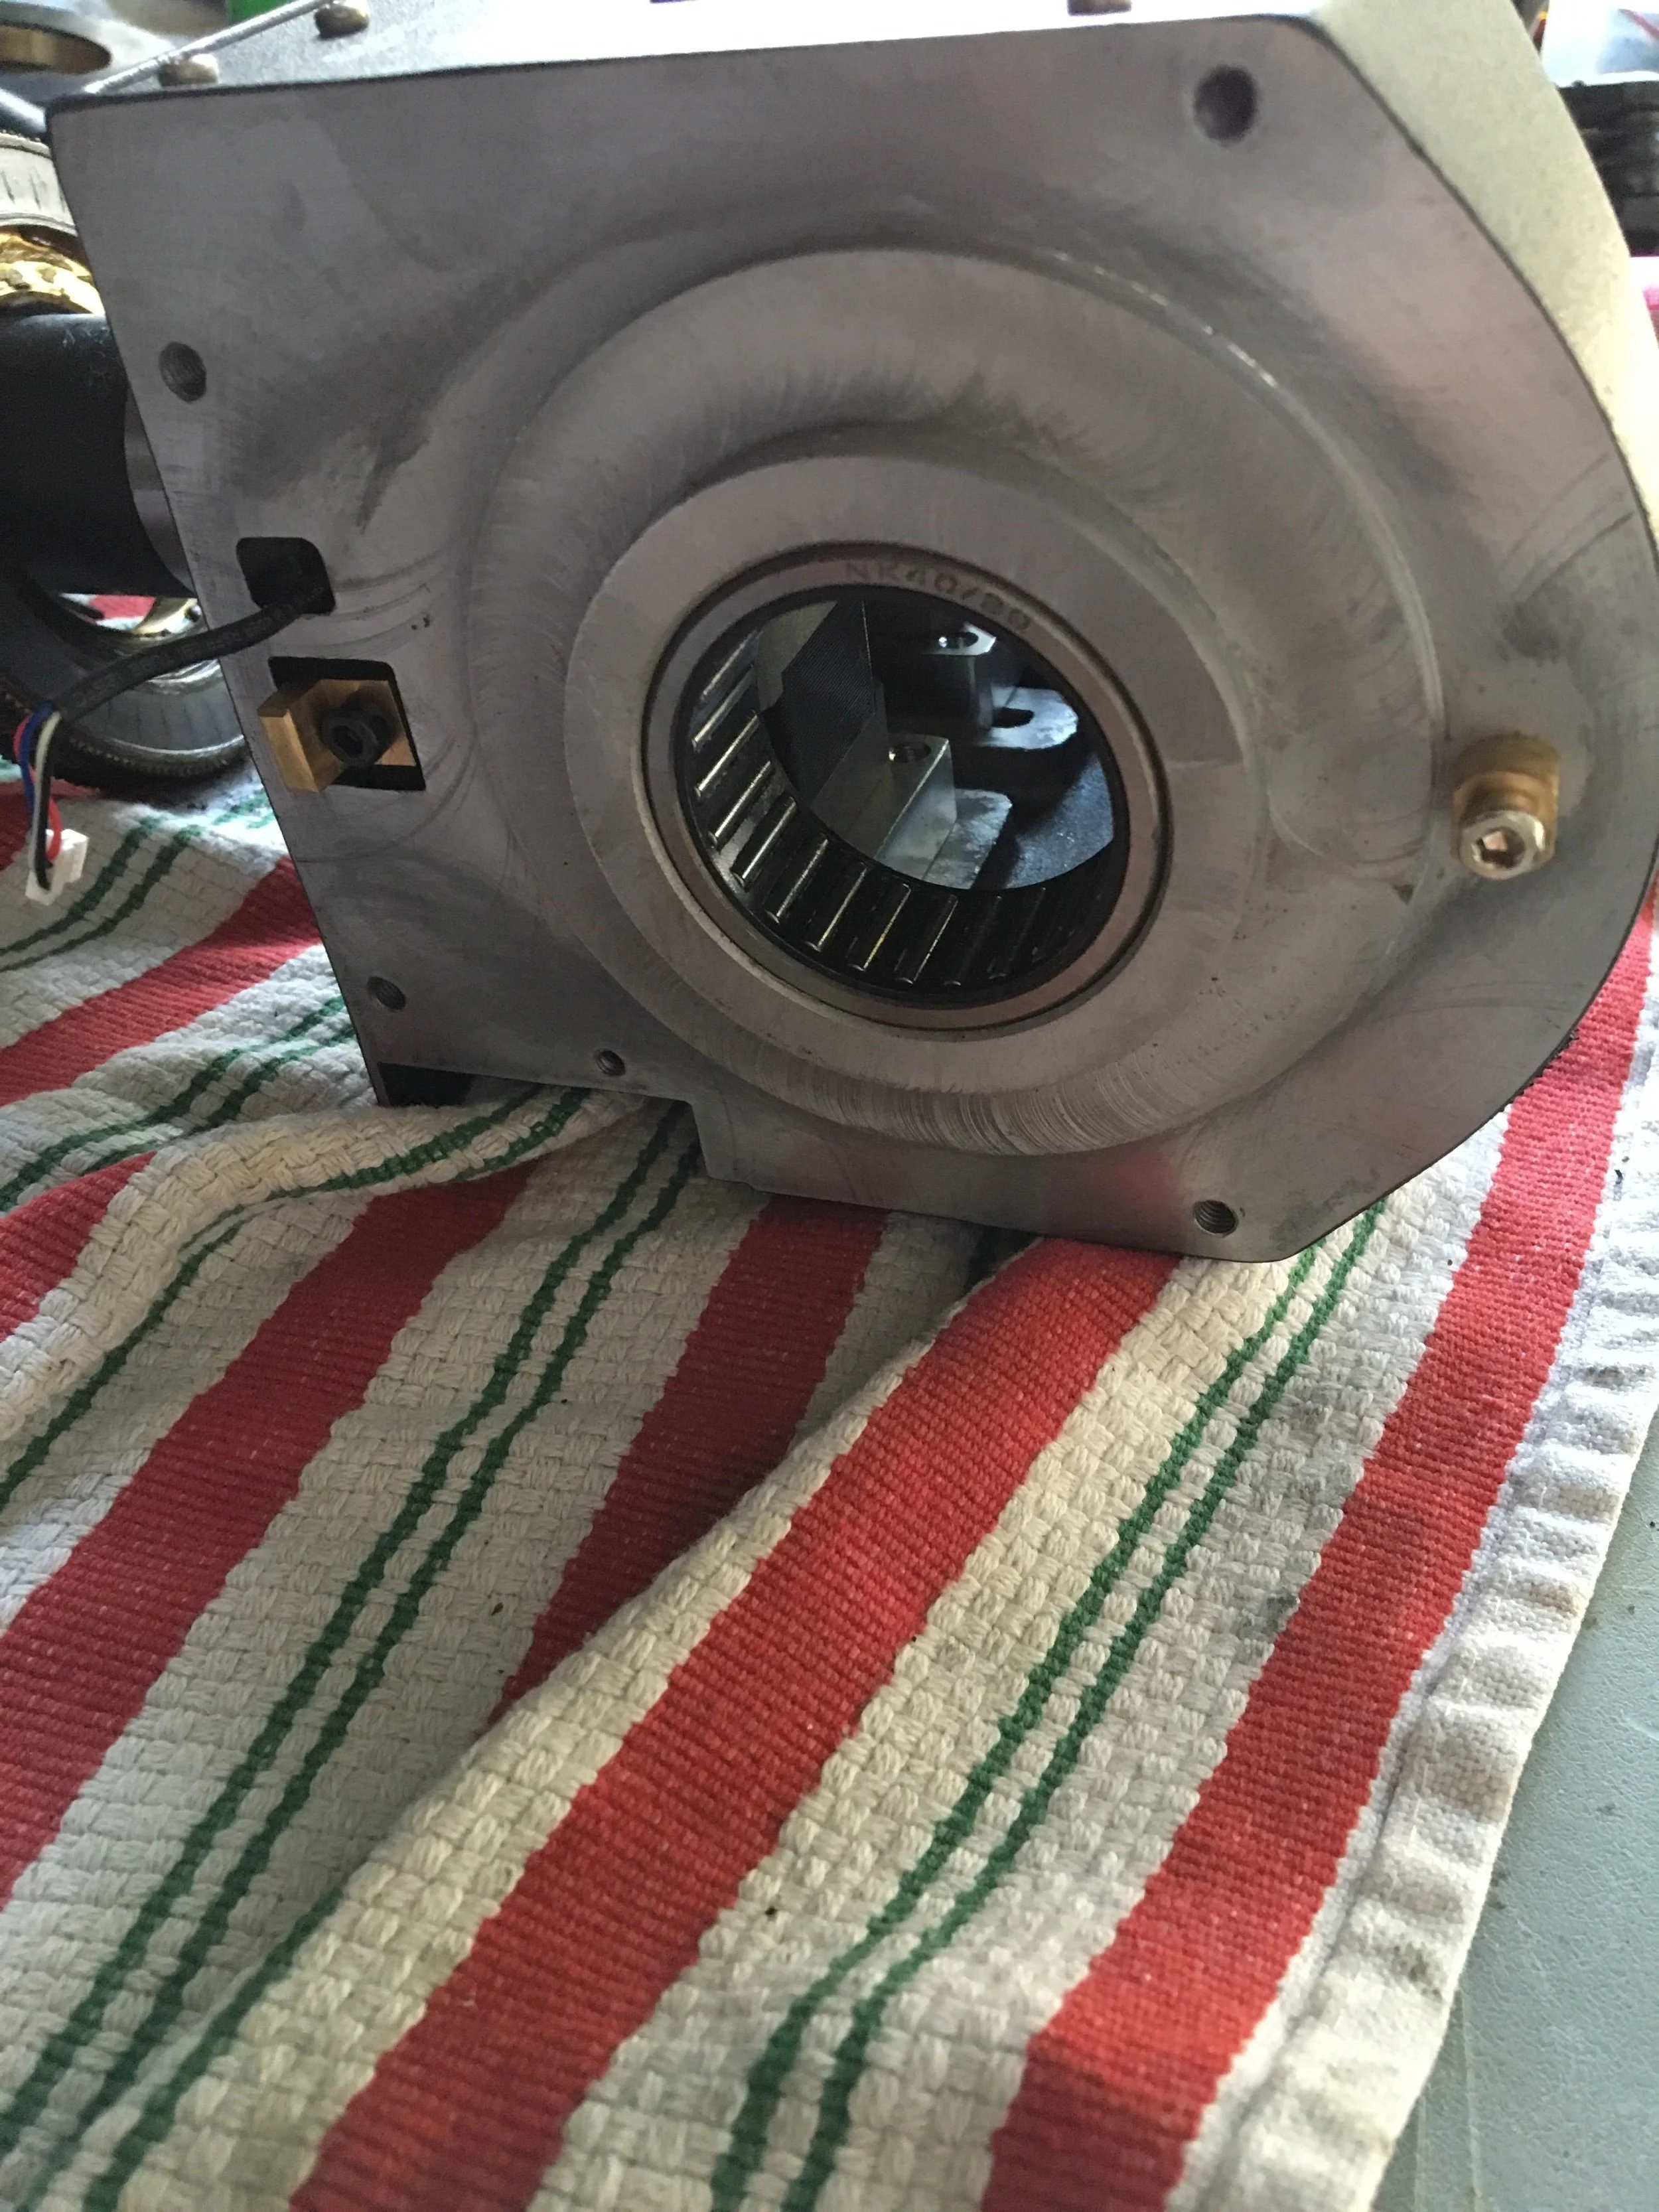

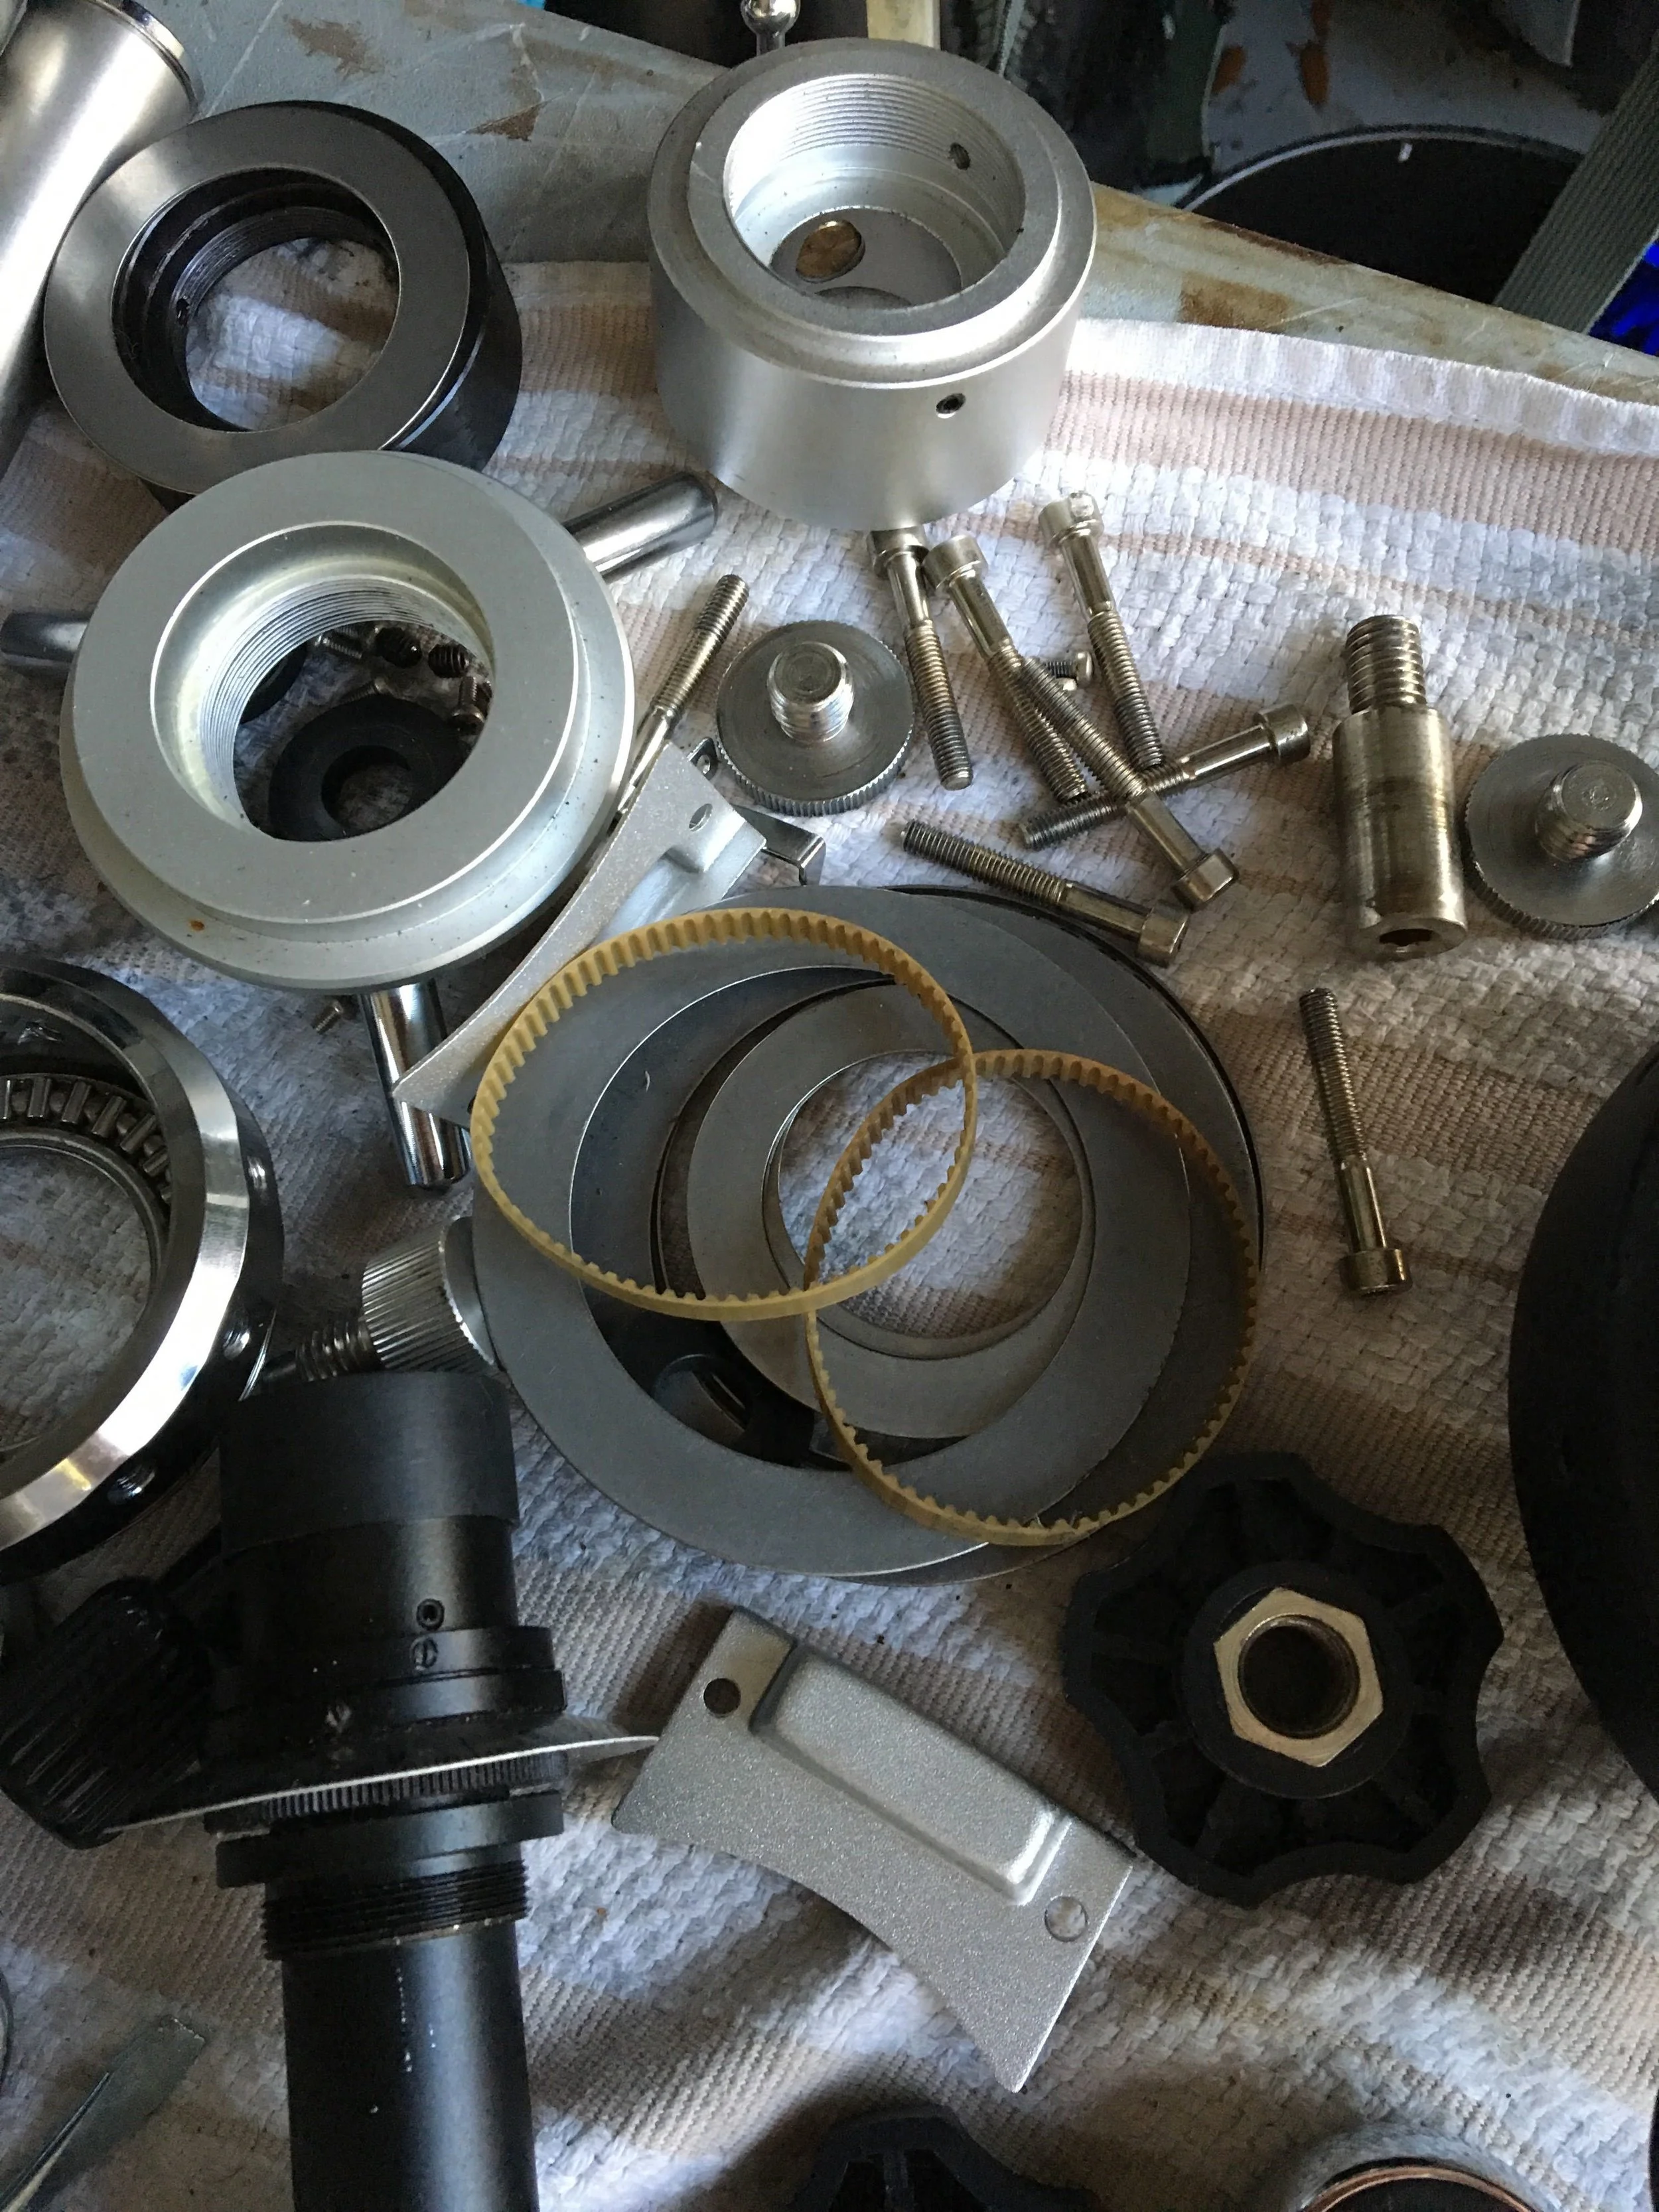
With my Mount 99% disassembled, I meticulously cleaned all the bearings and worm gears using warm water, mild dish washing soap and a tooth brush. Then let all the parts dry completely and re-greased everything using Super Lube Synthetic grease.
Re-assembly was relatively easily using the instructions.
I took a my time adjusting the worm gears to be just right. This step is super important and must be done with patients. Take care to be as accurate as you can to leave as little backlash as possible while not over tightening the adjustment screws. This will cause binding and even damage to your gears if not done right.
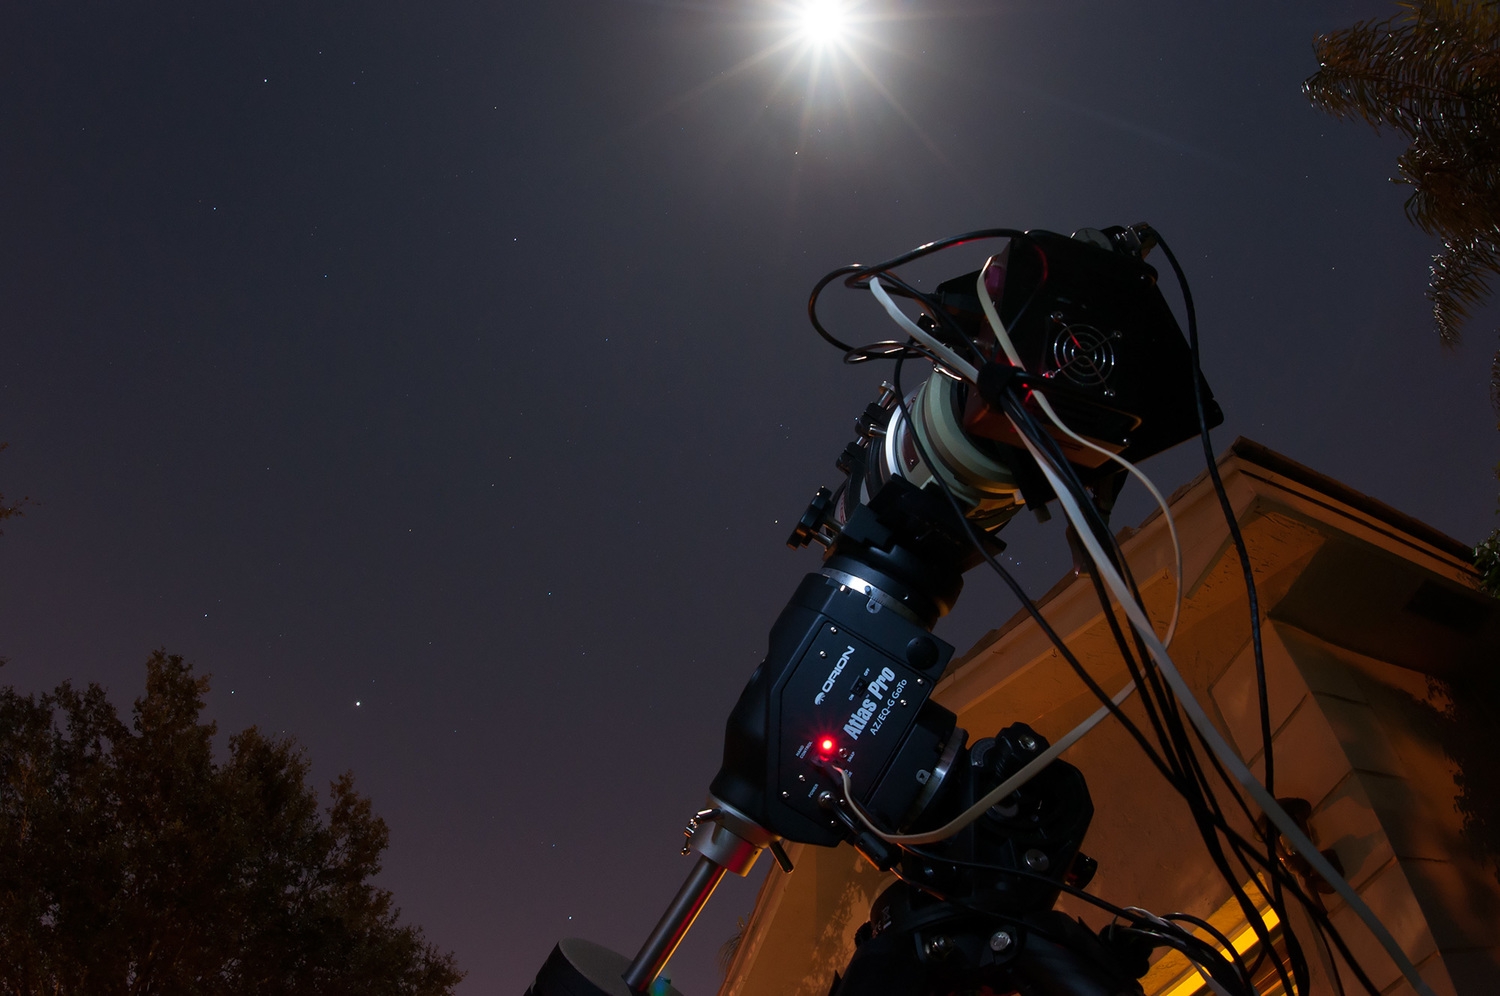
The results so far have been great! The mount sounds amazing again, like new and I have been using my Celestron Edge 8” HD at 2000mm to image with, that was not possible until now.
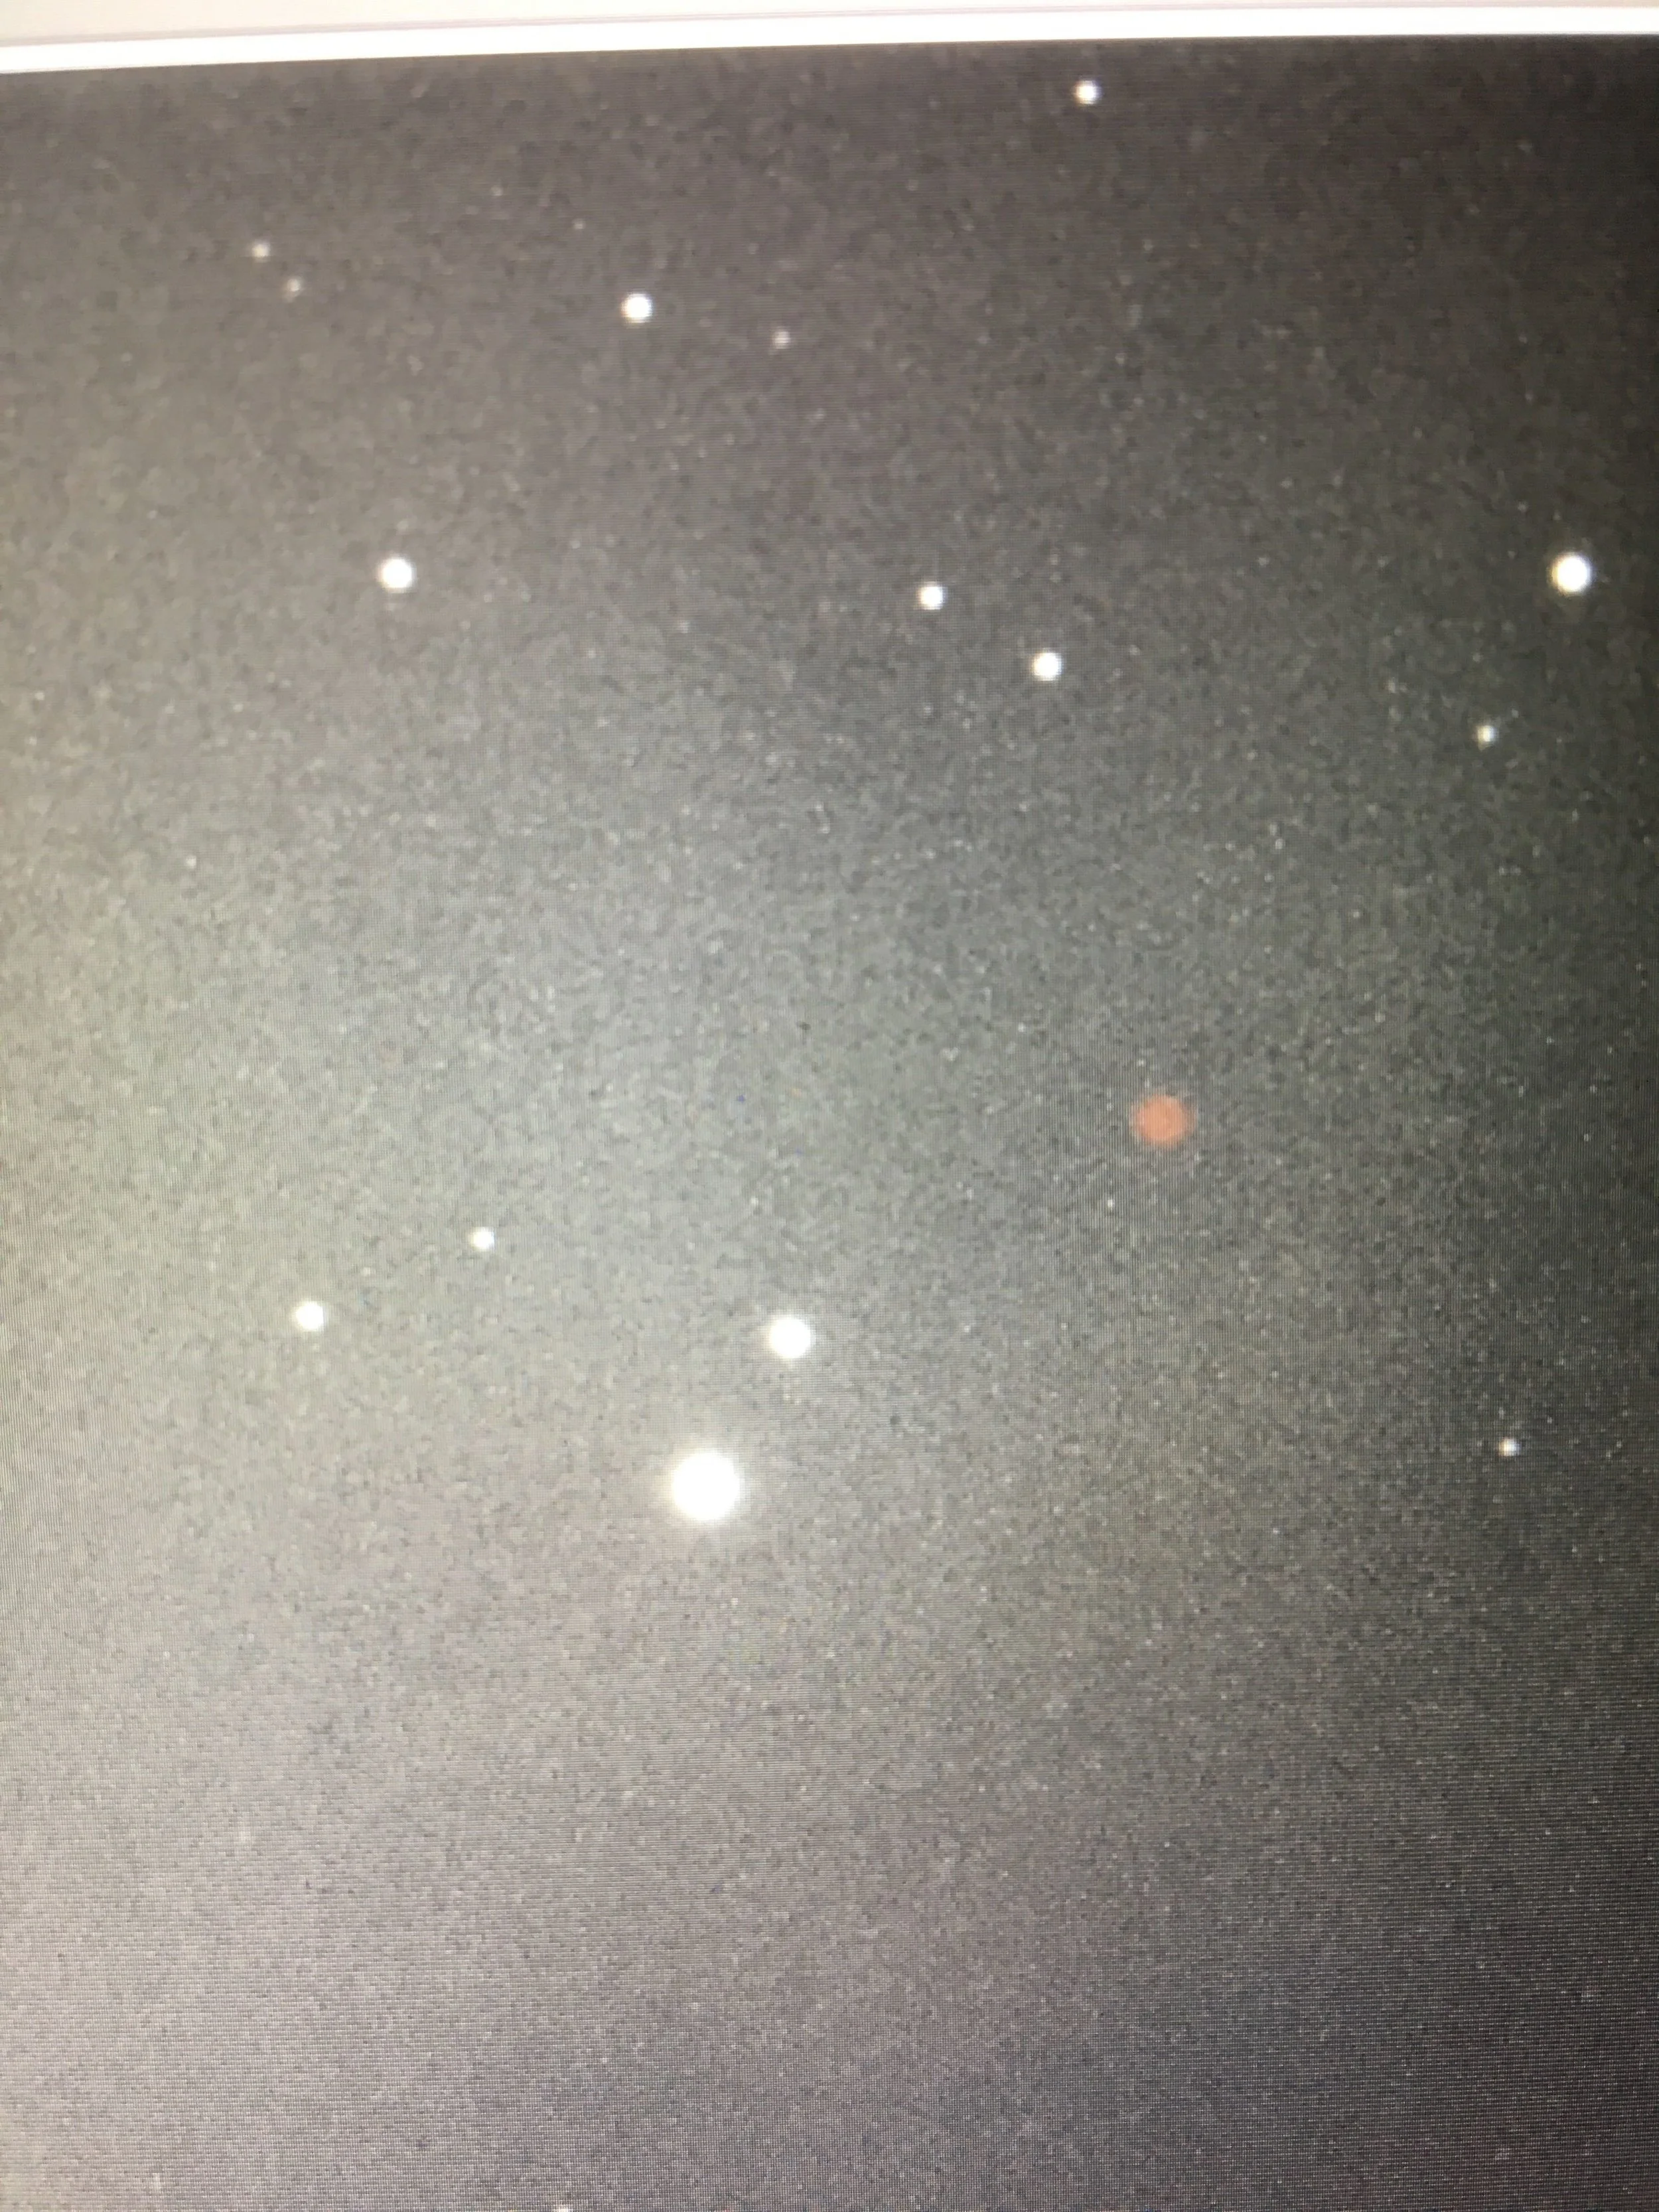


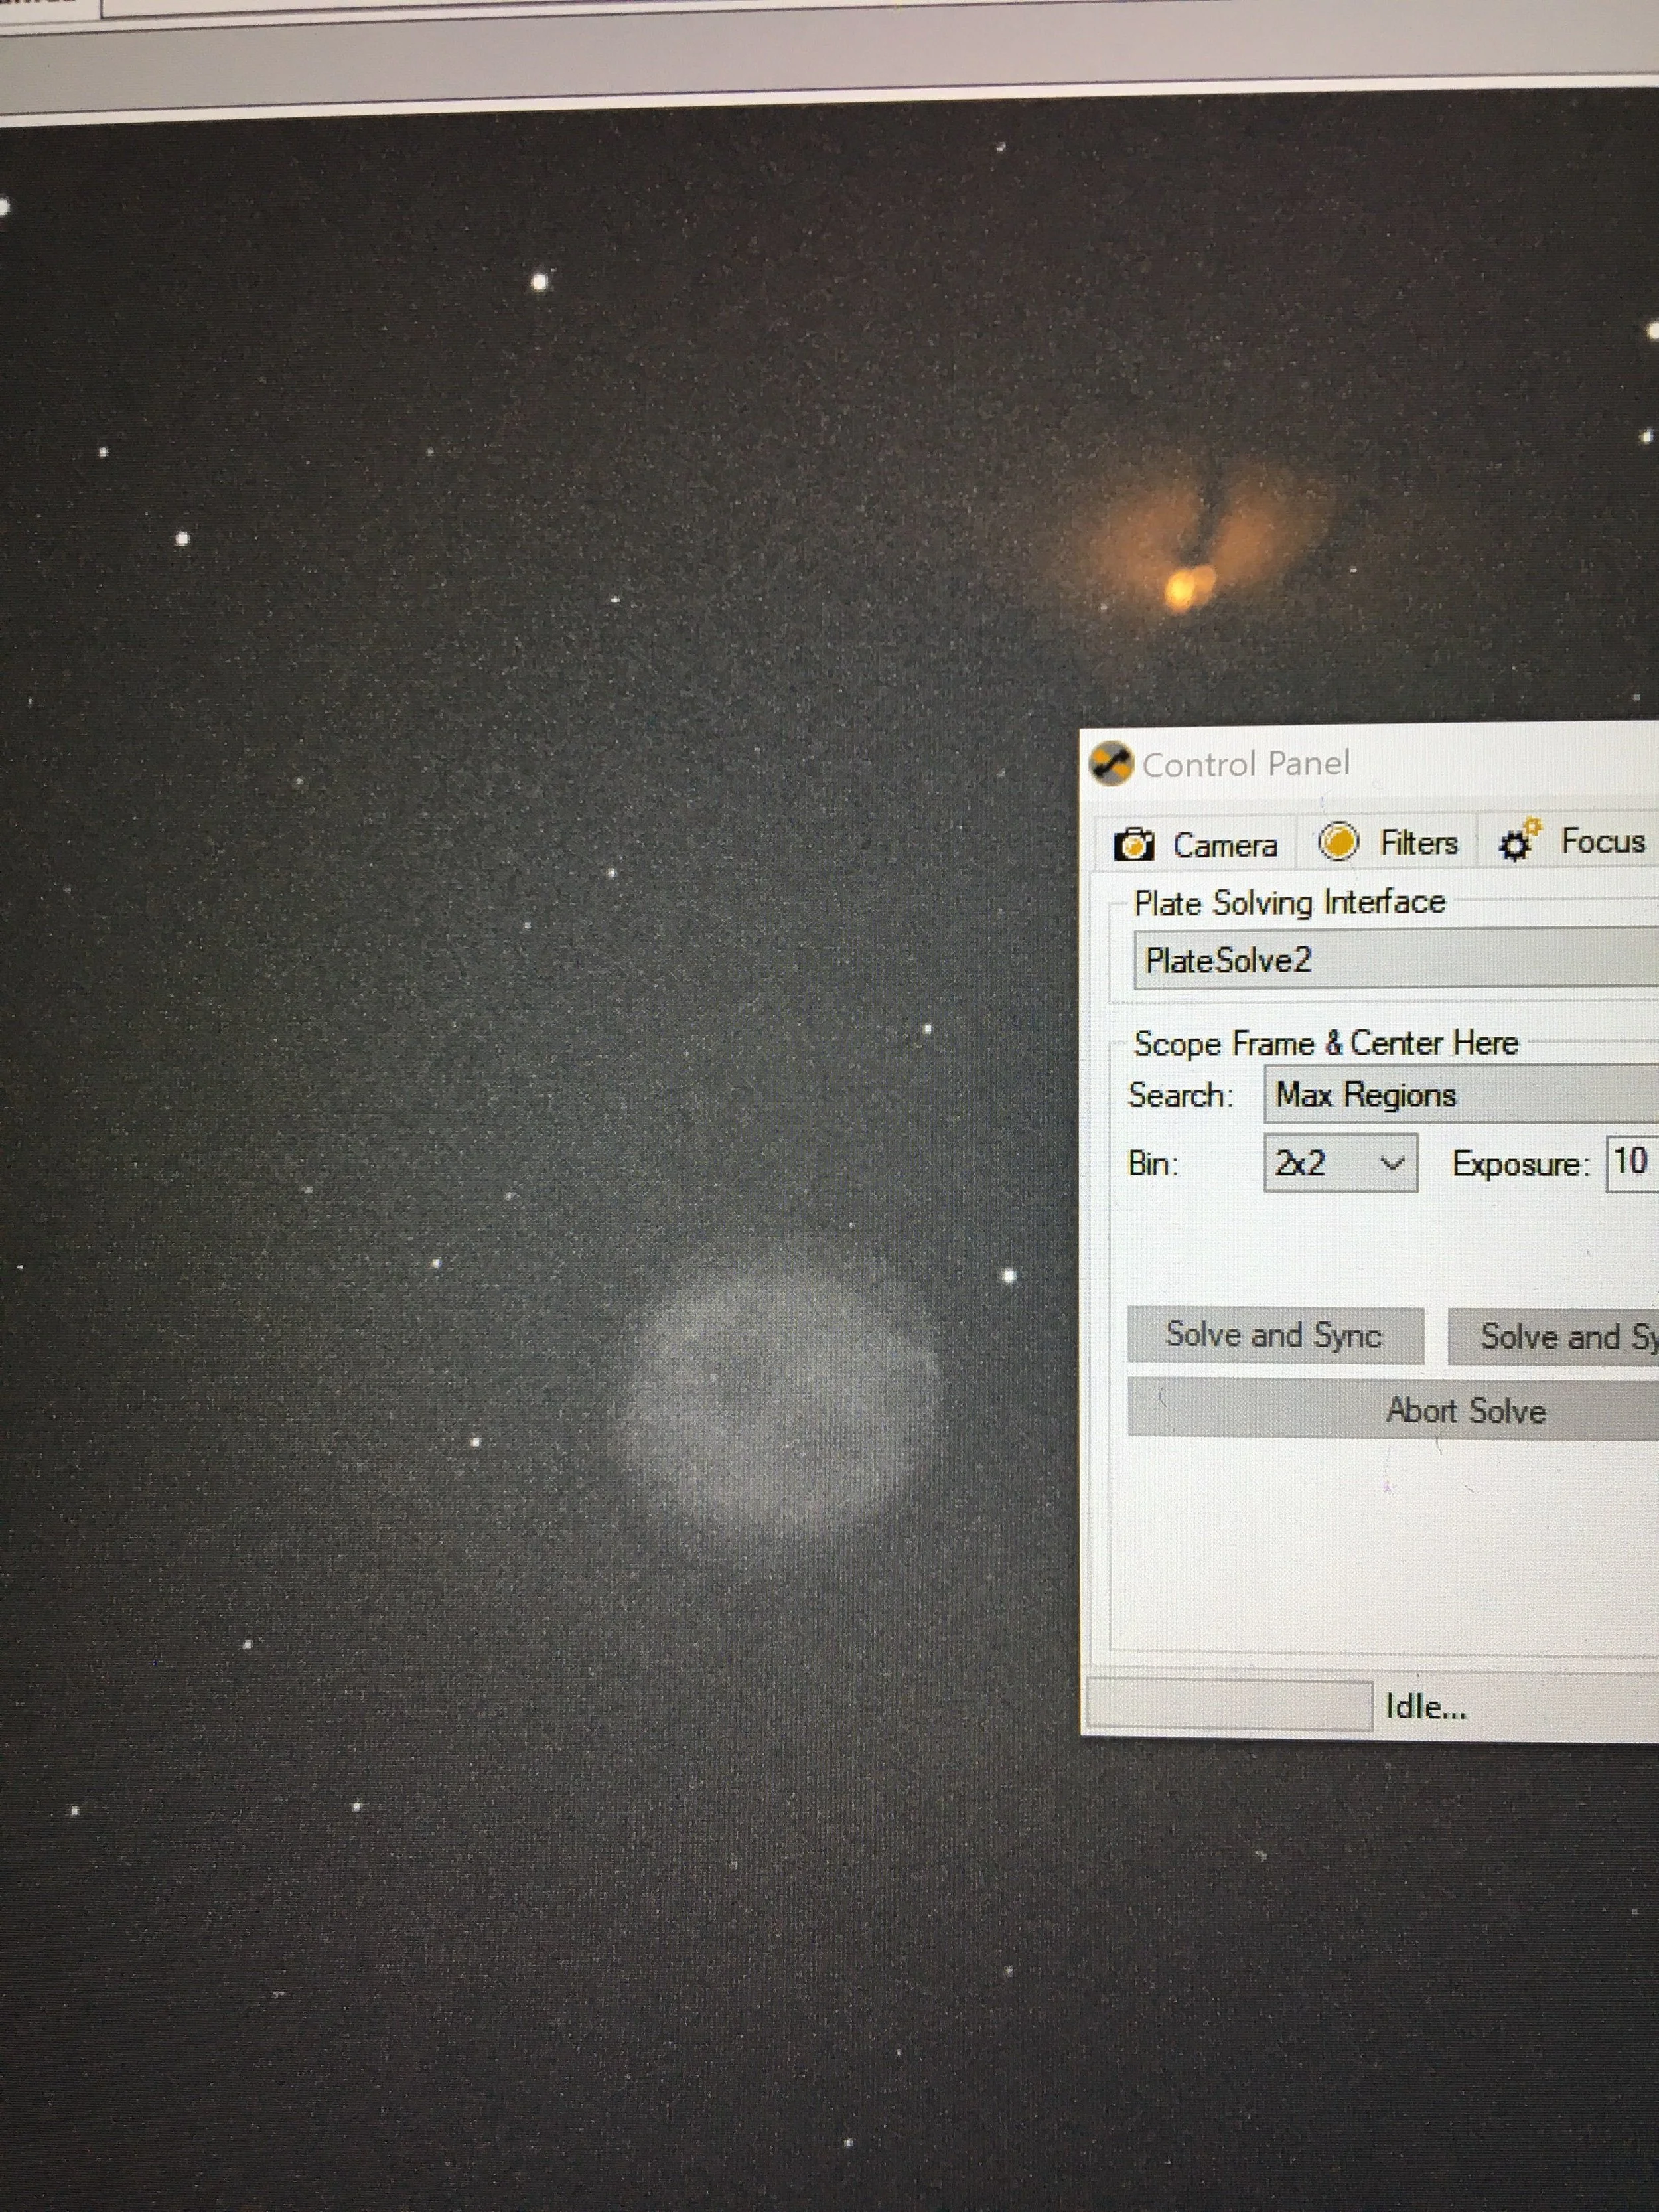
I’ve been doing guided exposure of 10 minutes for 4 nights now and have lost no subs to bad stars.
Final test image after the tune-up. 12 hours on the Owl nebula. Perfect stars at f/10.

If your so inclined to do your own tune-up, I hope this blog helps.
Clear skies
http://www.theastrogeeks.com
I’ve been a dedicated to Squarespace fan for 20 years. Love the product, people and company.