Orion's Atlas Pro AZ/EQ-G Mount: Review

In December of 2016 I decided to sell my Atlas EQ6 for the newer Atlas Pro AZ EQ-G. My reasoning for the switch was based on several factors, but mainly these 2 sealed the deal for me
1. Increased weight capacity and
2. Belt-driven stepper motor drive system.
My old atlas still had enough value in the used marketplace that I could fund at least half of the new Atlas Pro AZ EQ-G's price tag, I’m a firm believer that my astronomy gear is just rented and that if you keep it well maintain and keep all the original boxes it will sell from 60% to 70% of it's original "new" price.
Visual performance using ALT/AZ mode
The ALT/AZ mode is what I use when doing any visual observing. It's easy to set up by removing the locking pin and screwing the mount into position using the altitude adjustment handle.


The Illuminated SynScan GoTo hand controller walks you thru the alignment routine with a series of questions i.e. starting with "AlT/AZ or EG mode", followed by "Alignment routine", 1 star, 2 star or bight star. Of the 3 alignment routines I find the "2 star" option works for me. It’s straight forward and not that much different from any other "2 star" alignment routine availble in other mounts.
Select a star,
slew to said star,
center star in the eyepiece
and confirm it is centered in the eyepiece
repeat
I try and pick second star on the opposite side of the meridian than the first star) and follow the same steps as before. Once complete you’ll get an “Alignment successful” message, and your ready to go.
With an accurate tripod leveling and close centering of alignment of 2 alignment stars, my slew accuracy is very accurate. I would like to see a sync to target added to the hand-paddle so that you can update the model accuracy with each new target slew,
Correction… thanks to Colin Leigh for correcting me on this feature.
(do a GOTO and then manually center the object. When you are done, you go to Utility I think it is (or Setup? One of the two), and then choose PAE correction. It'll update the pointing model with the new adjustment. )
but other than that I’m very happy with this ALT/AZ option and use it all the time when doing visual or outreach and just need to get up and running quickly. It's also a great feature when Polaris isn't visible or obstructed.
Astrophotography is where this mount really shows its worth, and why I think it's the best astro-photography mount for under 3k.
German equatorial mode
My photography configuration is all run using Sequence Generator Pro or "SGP", theSky6, EQMOD for scope control and PHD2 for guiding. The camera is an sBig STF-8300M with FW8 filter wheel and Baader LRGB and Narrowband filters.

Camera & filter wheel
sBig STF 8300M / FW8 Filter Wheel
I’ve had this setup running the mount and camera for over a year and it works great. 10 minutes subs are the norm for me and I seldom lose any subs from bad guiding, in fact most of the time I will go all night without dropping a frame.
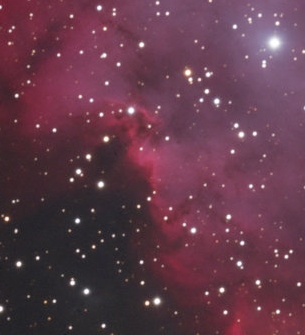
Monkey Head
A cropped view of the Monkey Head reveals nice round stars, 30x600 LRGB image.
The EQ mode, is where this mount shines, I have been steadily increasing the weight of my setup over the last couple of years and believe now I'm just reaching the upper limit of what this mount can carry for astrophotography.
My imaging set up is a Stellarvue SVA 130 EDT with a reducer/corrector, feather touch 3.5 inch focuser, sBig 8300m CCD camera , sBig FW8 filter wheel, 50mm Borg guide scope, Orion Star-shoot guide camera and all the cables and power adapters needed to run it.

2.5lbs extra counter weight
is needed to balance my gear.
The only adjustments or tweaks I've made over the last year was tightening up the worm gears (declination and azimuth) after about 6 months of use. They get a little sloppy after the mount breaks and need adjustment. The mount balances very easy and as you can see I have to add a 2.5lbs of counter weight over the included 23.lbs that comes with it to achieve balance.
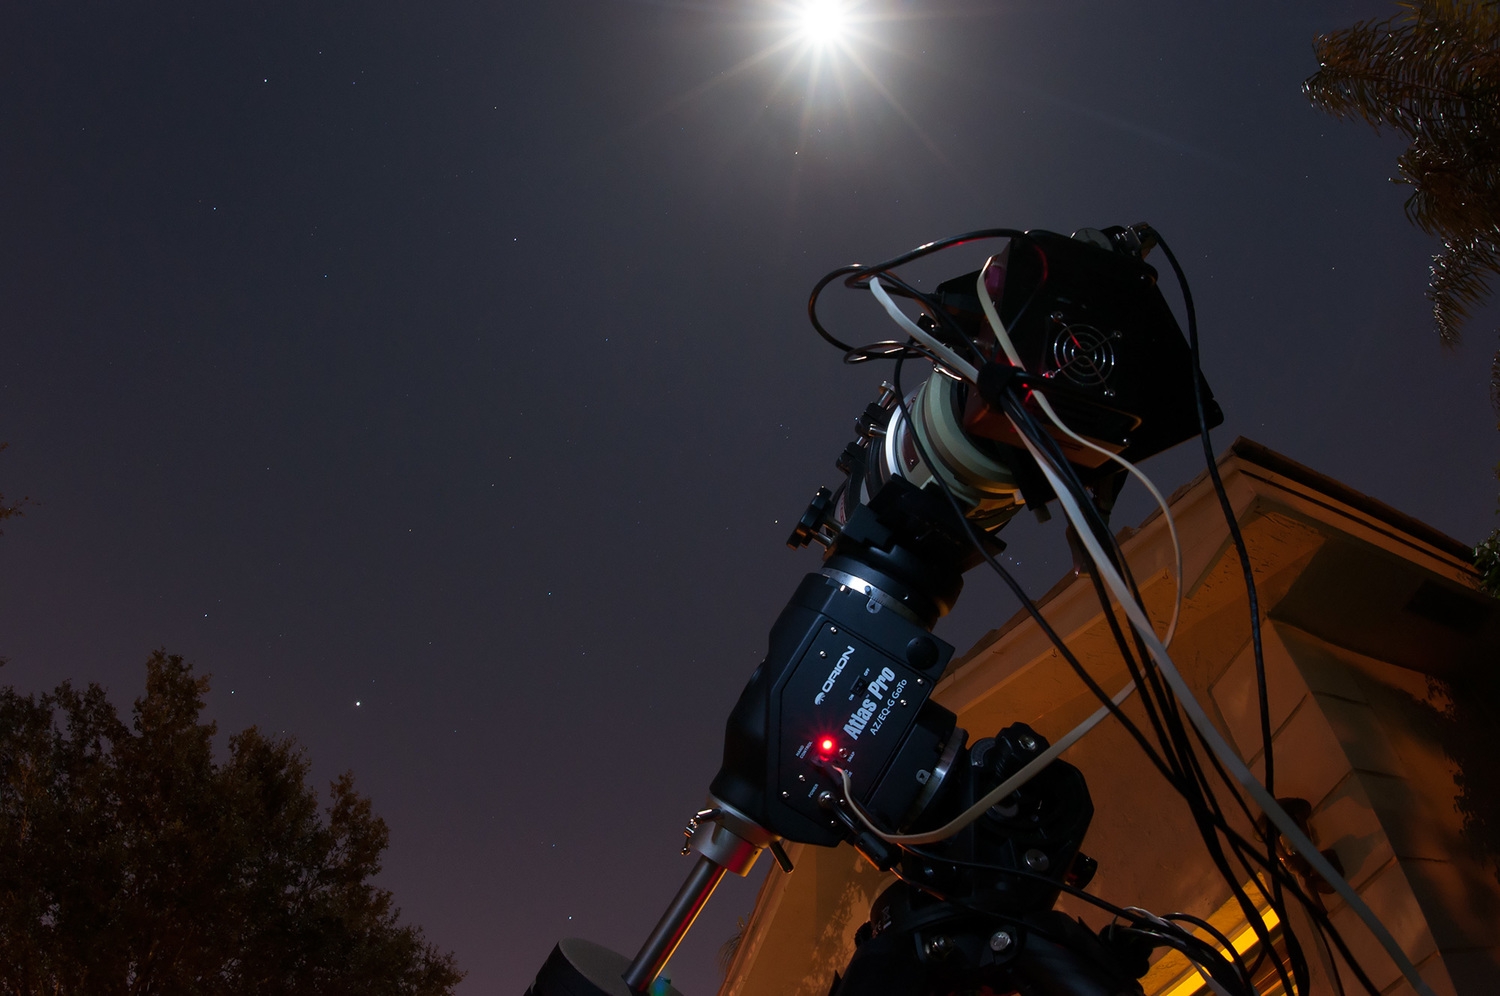
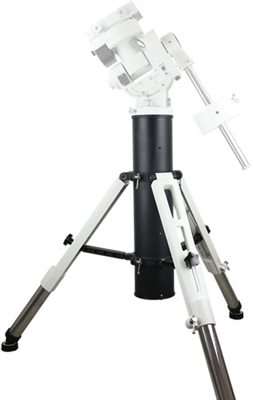
My imaging setup


Add on's.
When imaging I don’t use the hand-paddle, rather I purchased the EQDIR cable and link directly from the mount to a USB hub mounted on top of the rig. You can use the build in port for this on the hand paddle with the serial to USB adapter that comes with the mound but anything to reduce cabling I do, and it also saves a step when using the handle-paddle of having to enable PC control.

USB2EQ5
Interface Cable (RJ45 connector) can be found at shoestring astronomy products
Recently I added the QHY PoleMaster to the mount and have been very happy with the results. This little upgrade will help you get a very accurate polar alignment in a short period of time. Using PoleMaster and going thru 3 easy-to-follow steps, I achieve a polar alignment with an accuracy of up to 30 arc seconds almost each time I us it.
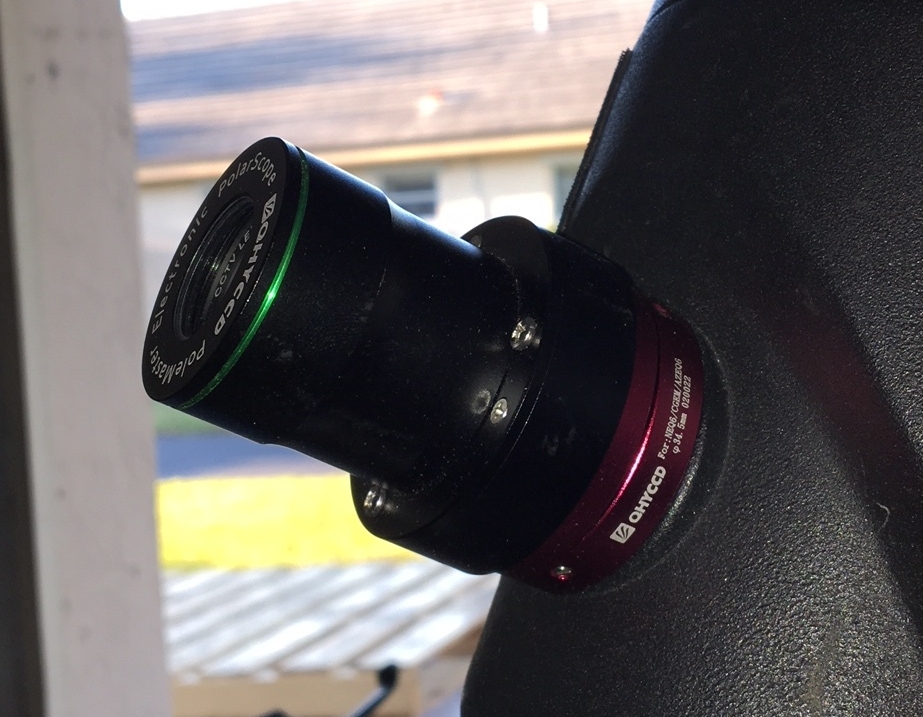
QHY PoleMaster
iOptrons Tri-Pier
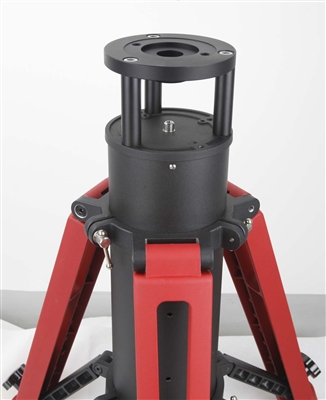
I also replaced the tripod with the new iOptron's Tri-Pier tripod for added stability. The OEM tripod was showing it's age and I really like the look and portability of the Tri-Pier. When folded up the Tri-Pier is very compact and space is limited for me in my small SUV.
The tripod has a custom adapter made for the Atlas, making attaching the mount head to the tripod easy.
With these minor mods and add-ons I found this mount to be a real performer and believe it’s the best imaging mount under 3k.
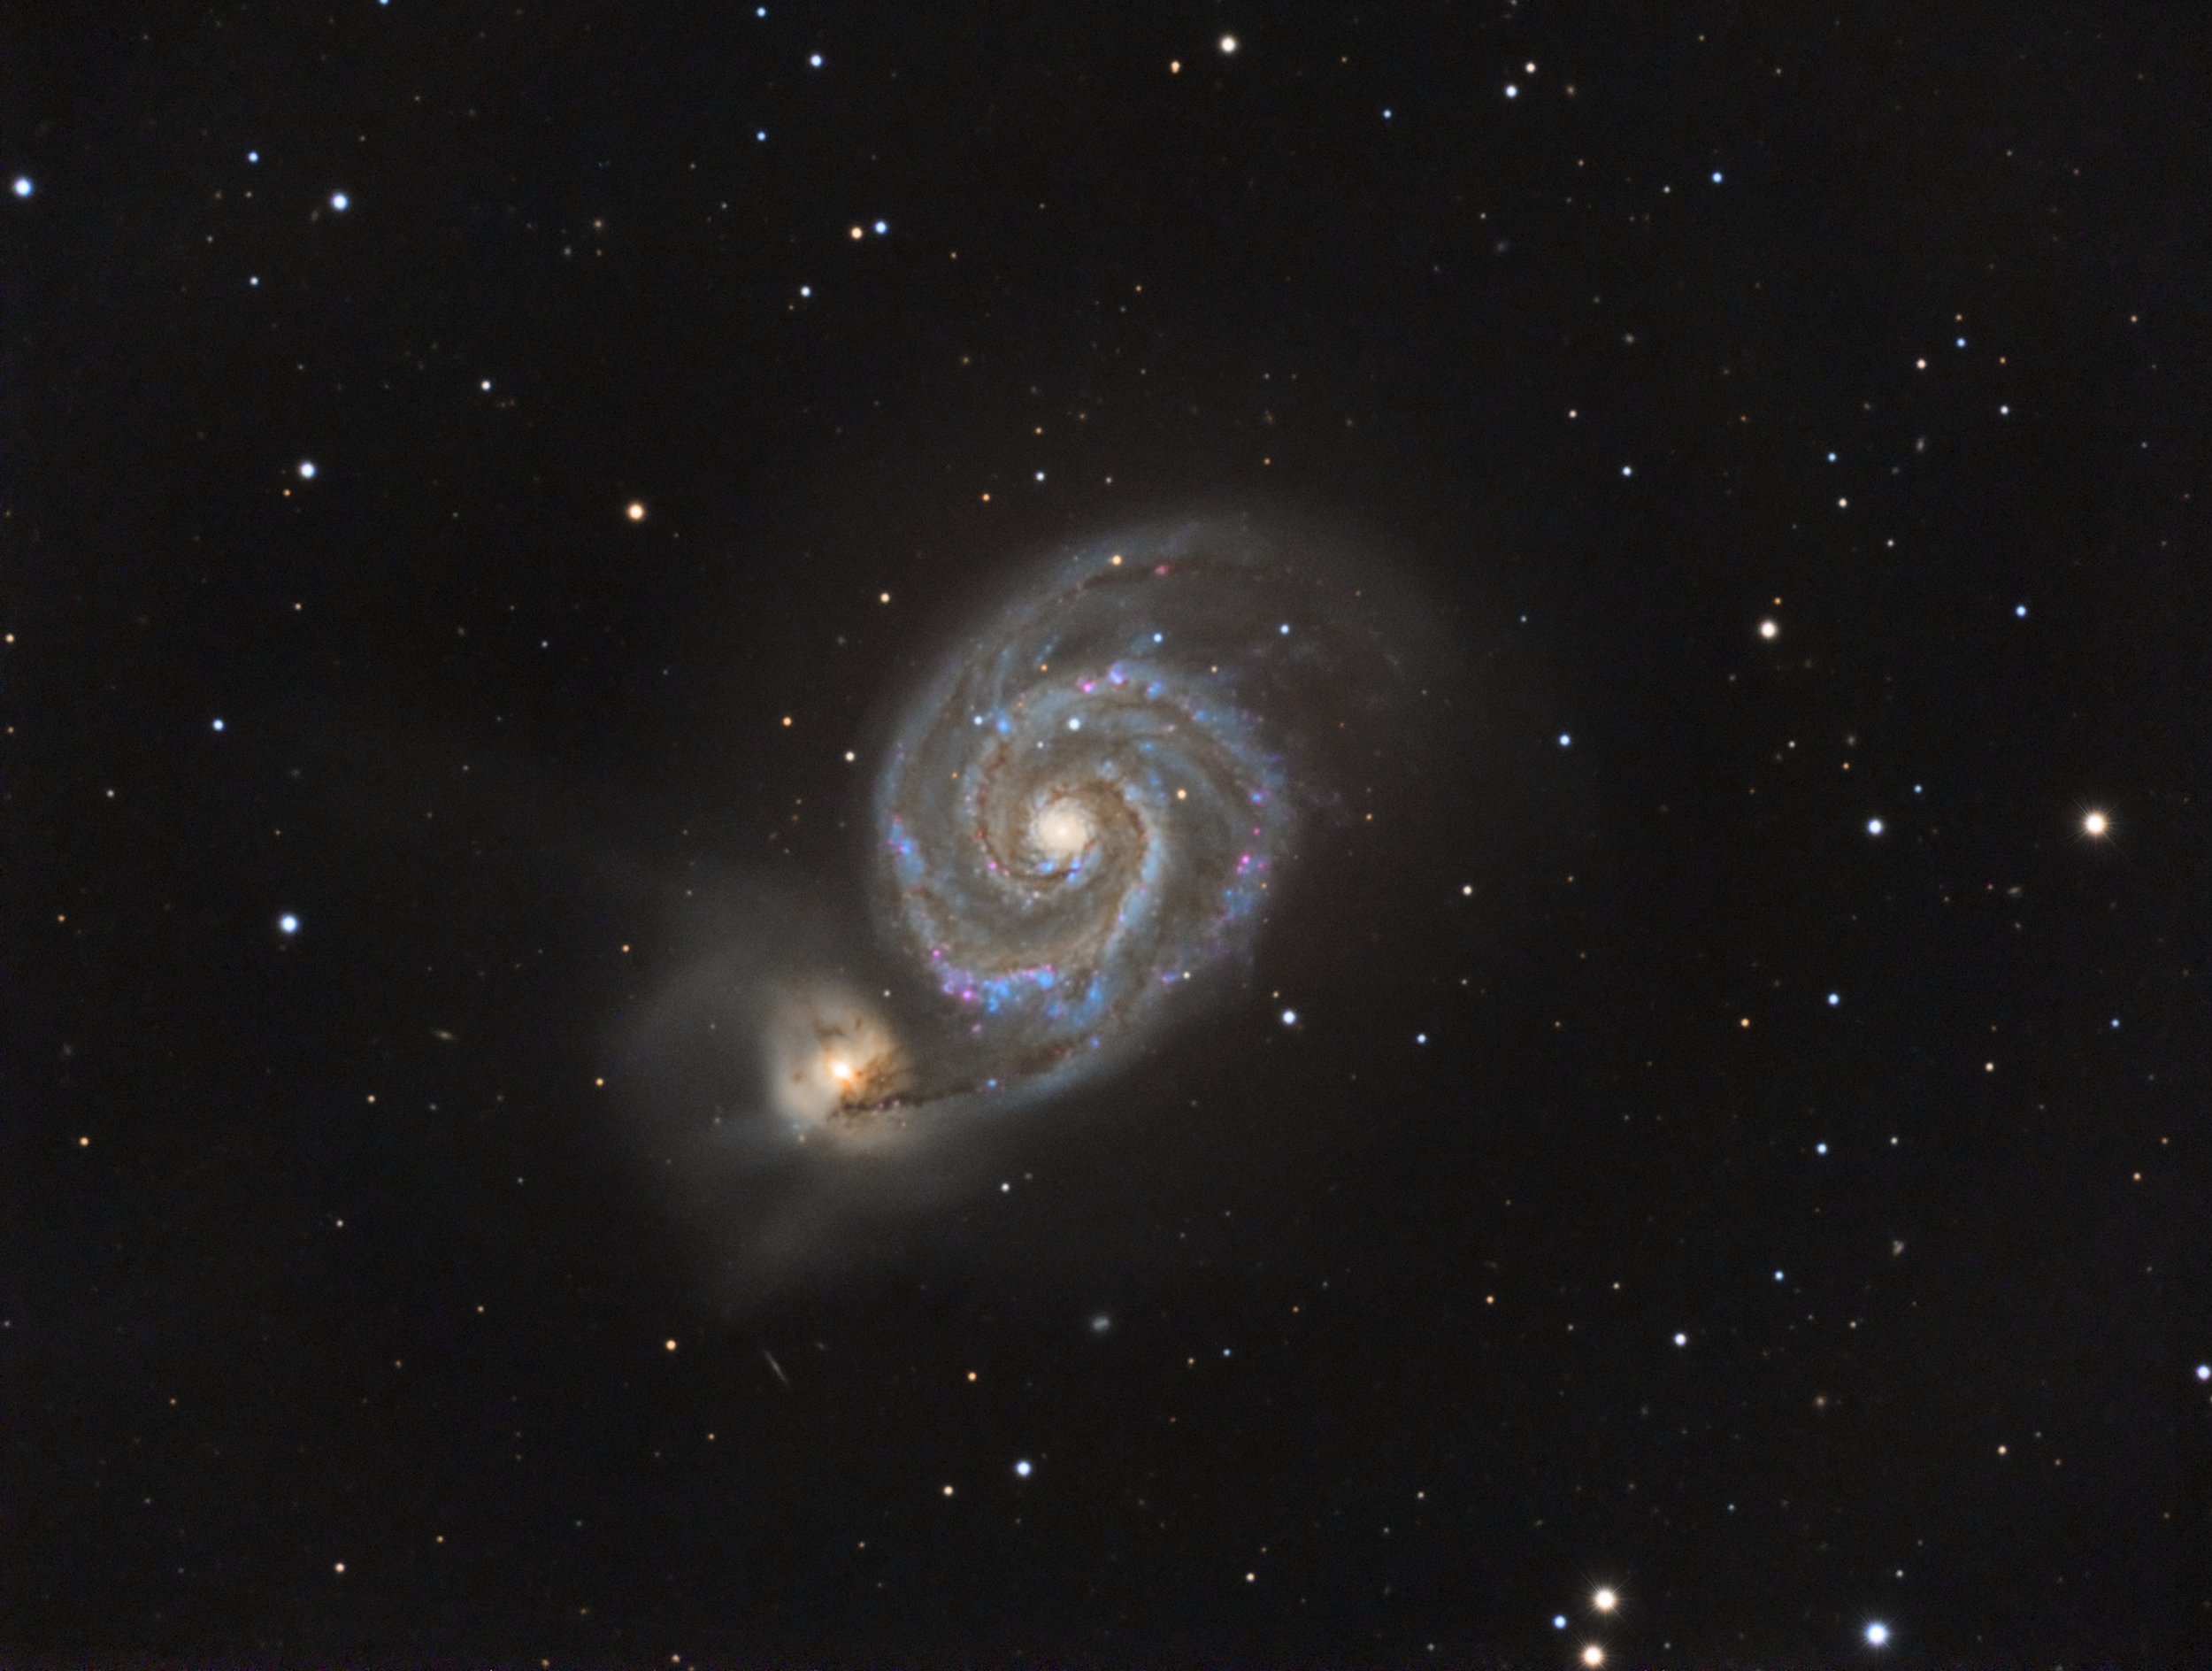
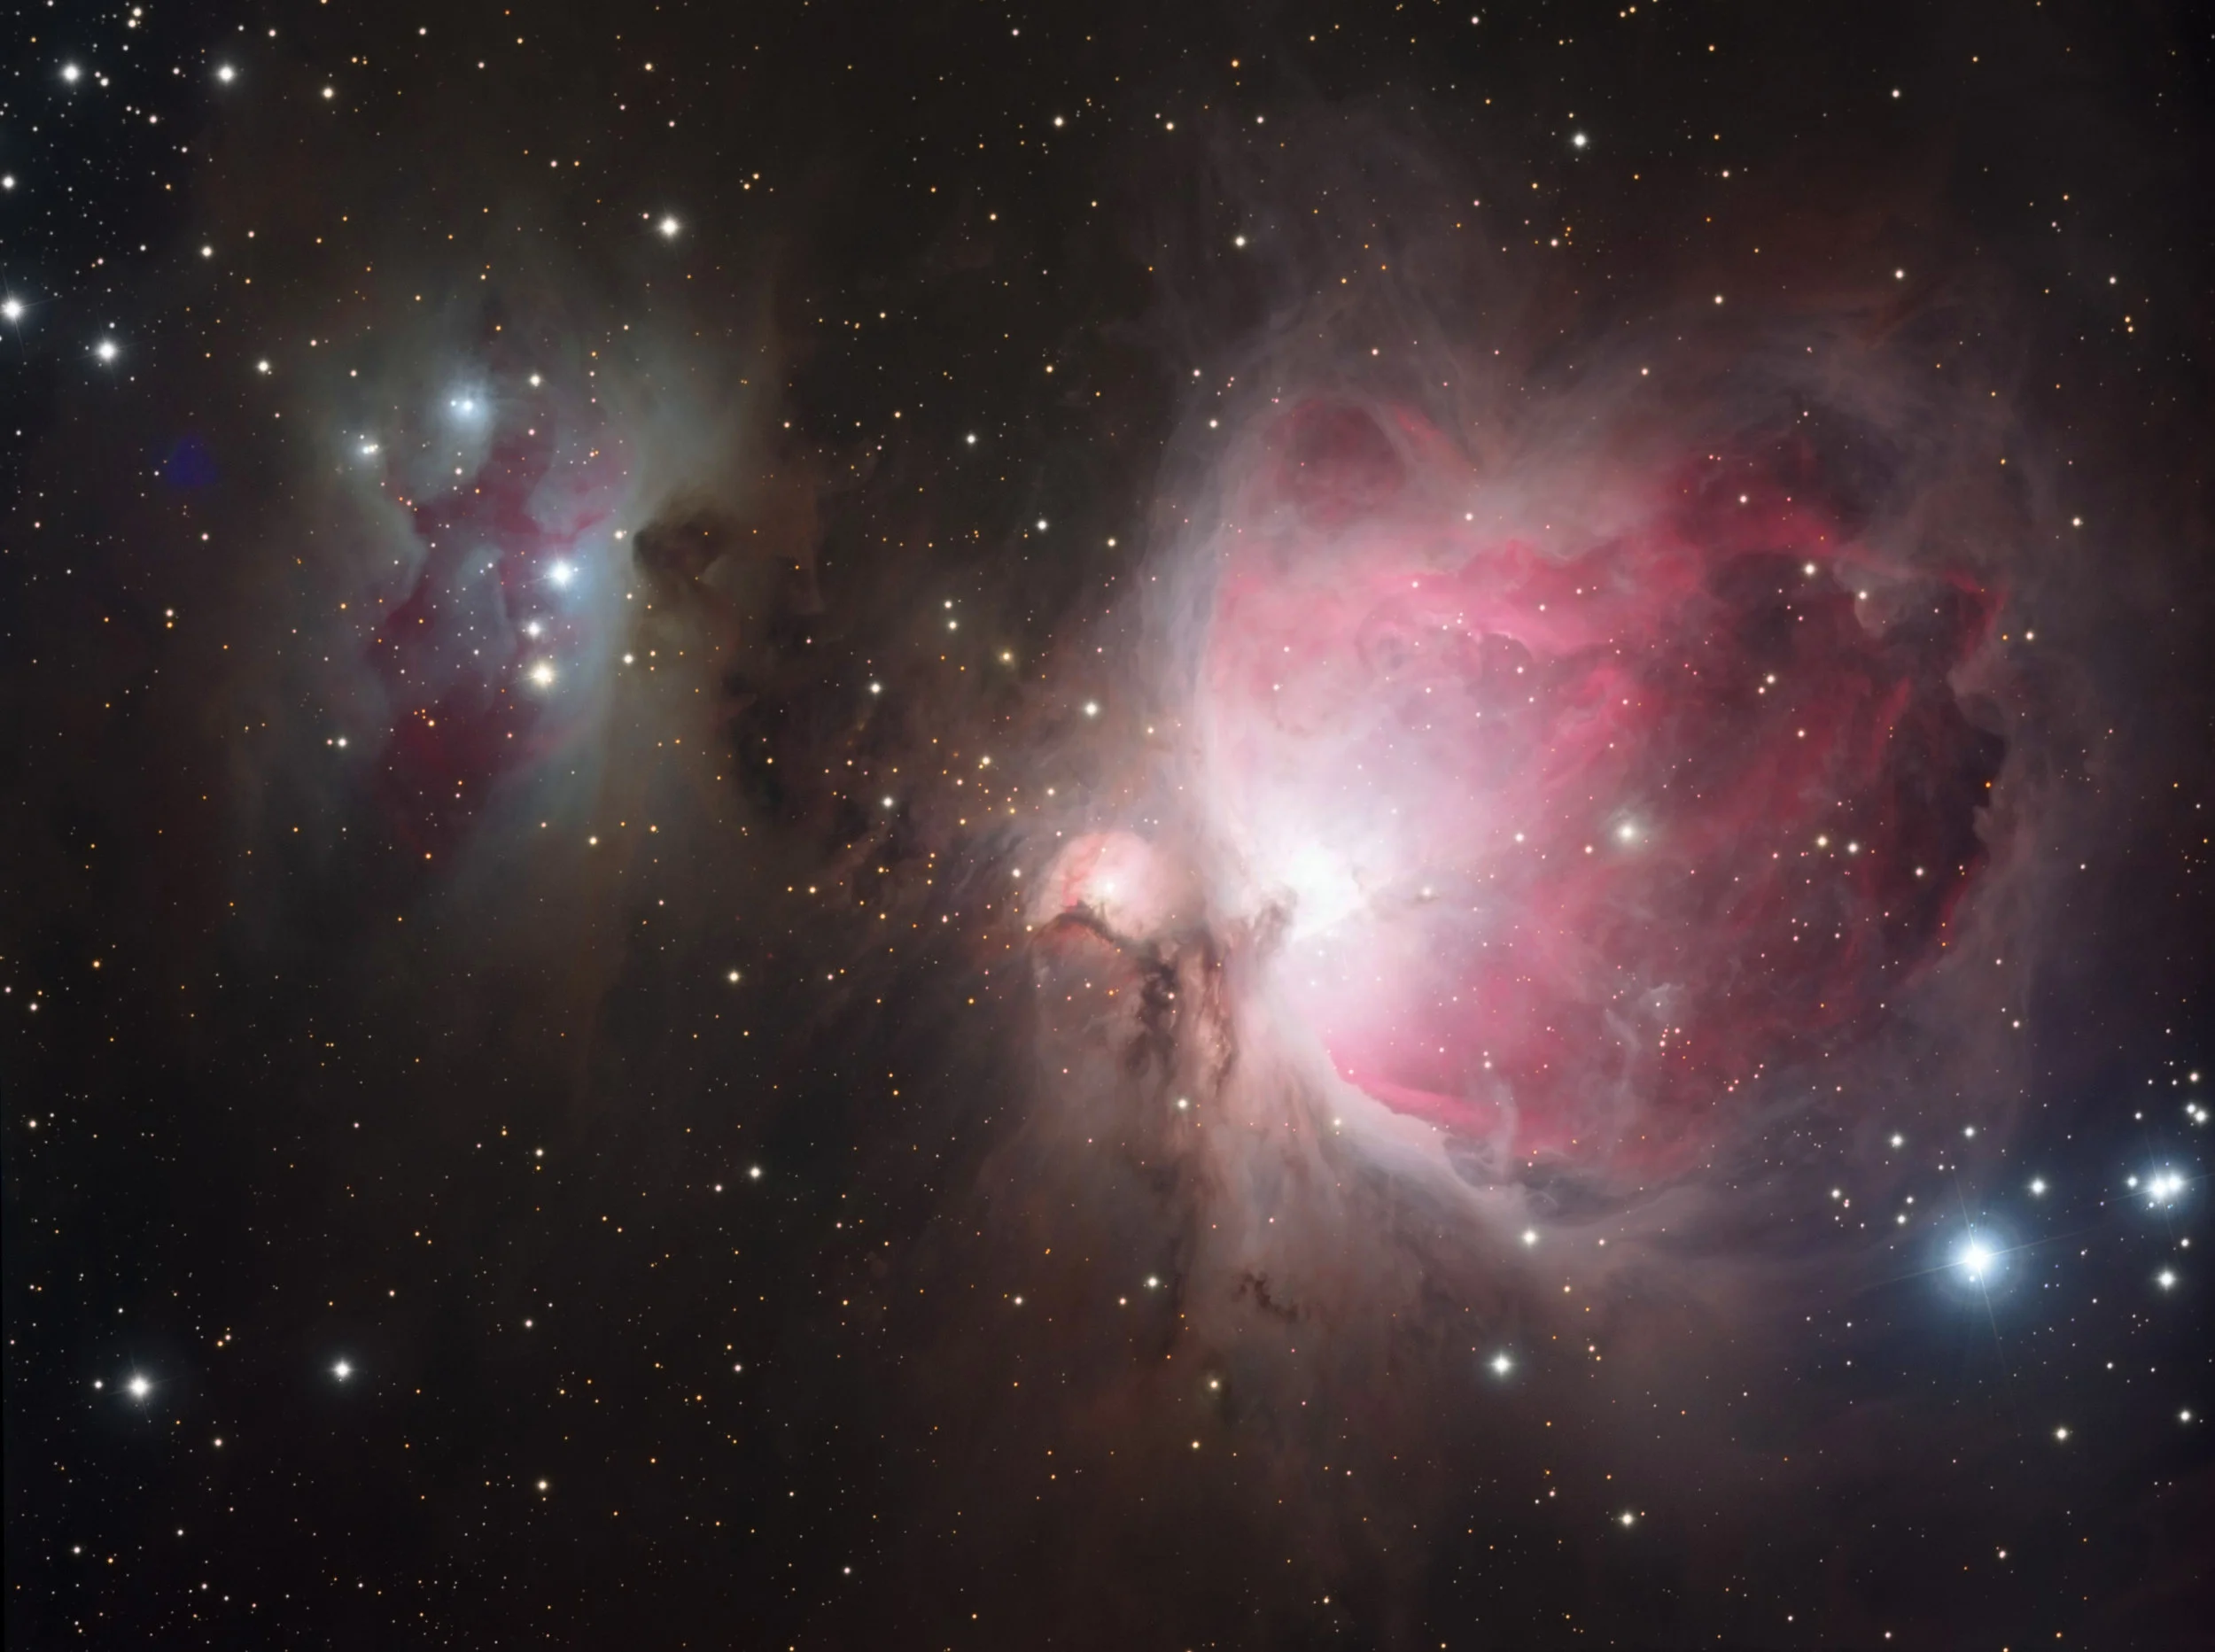
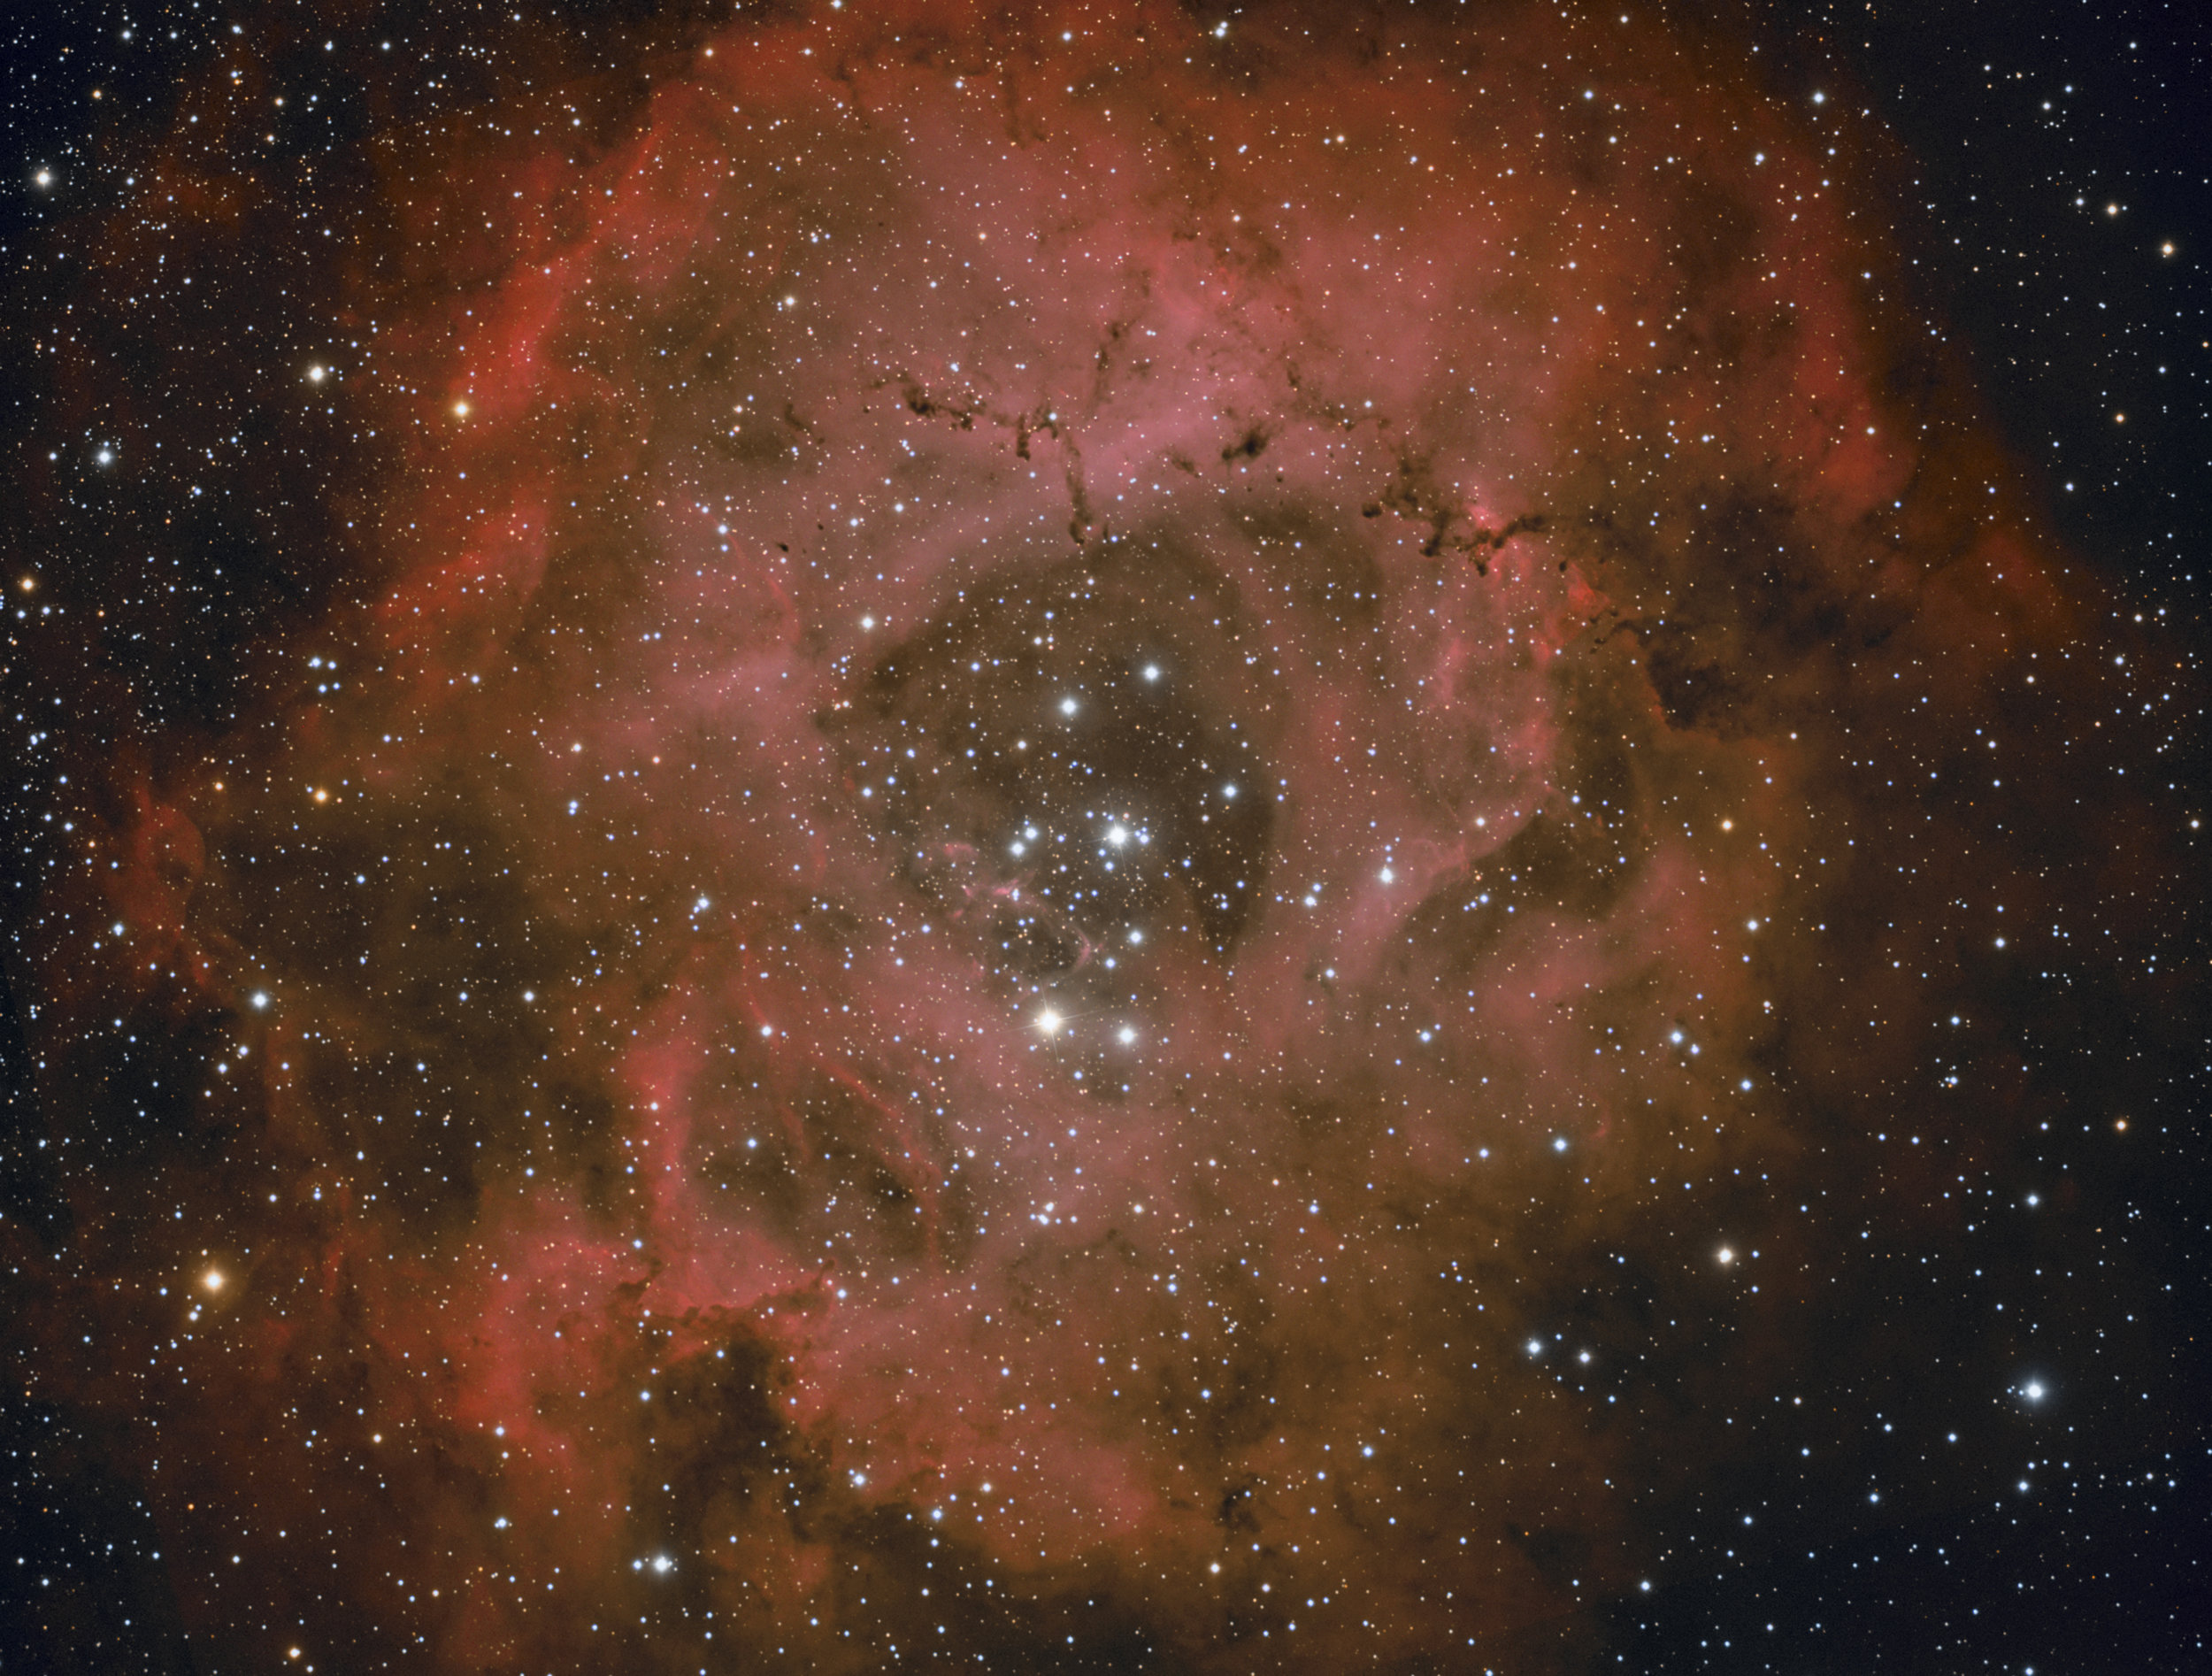
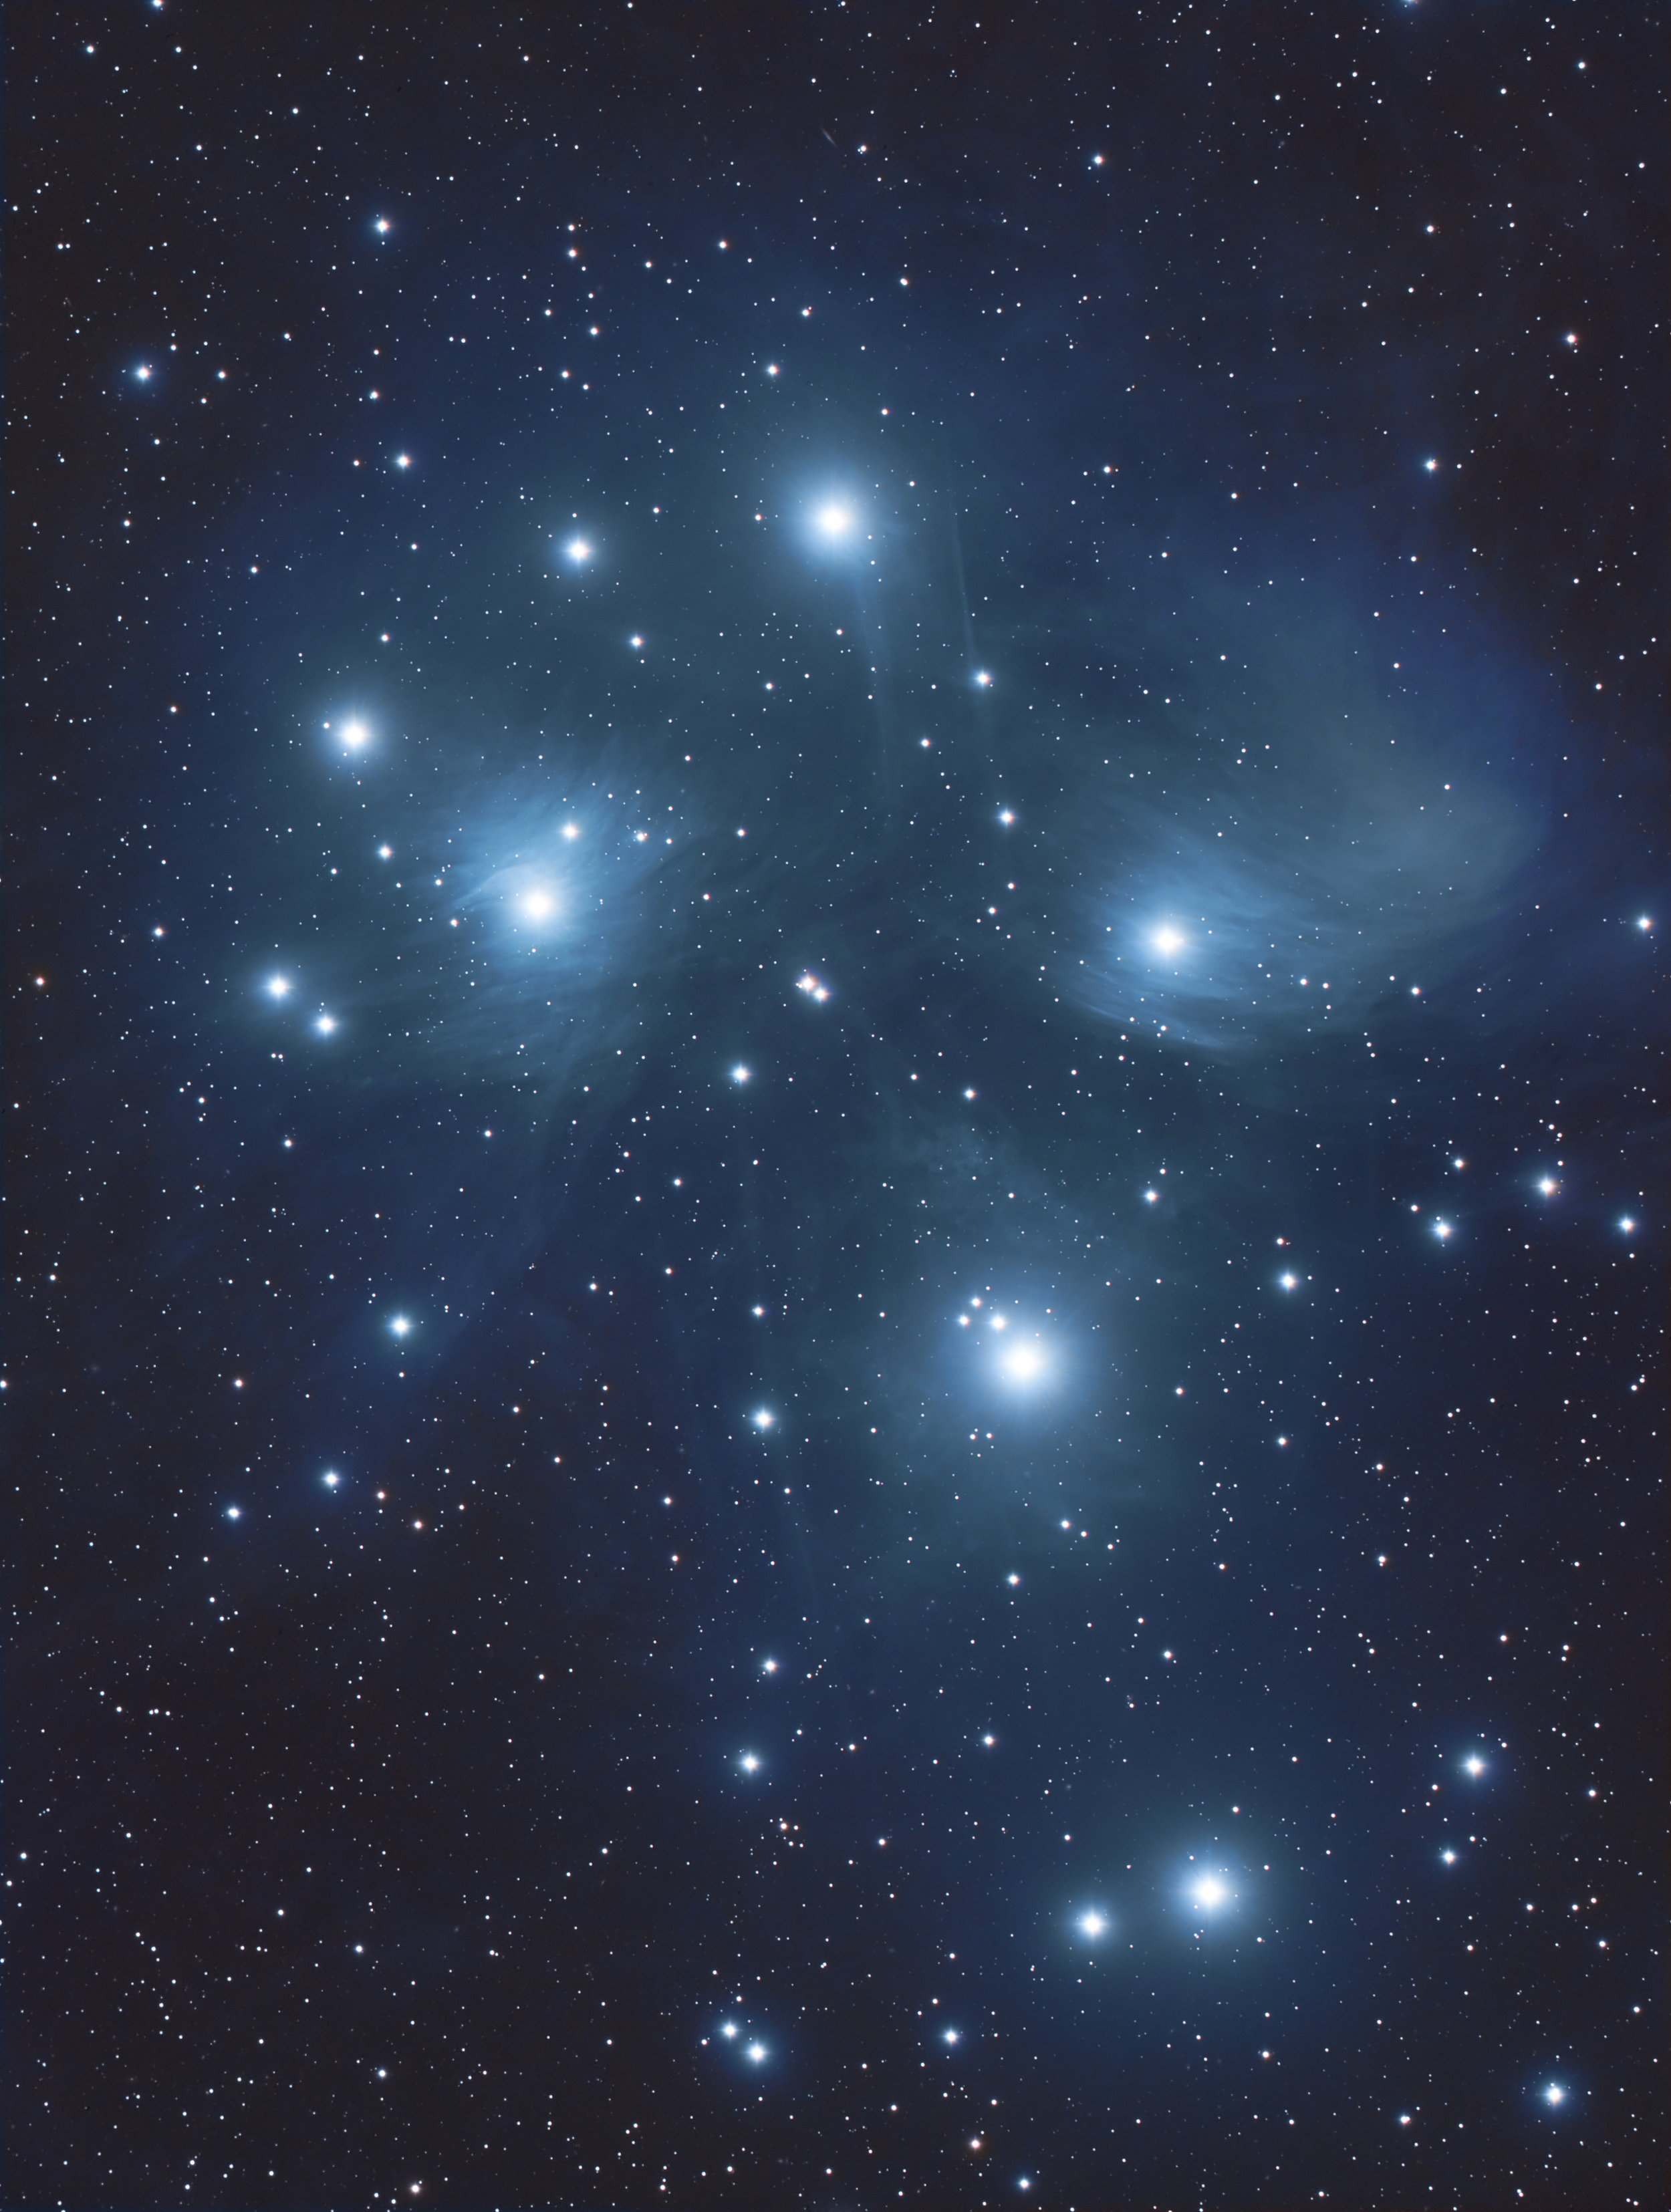
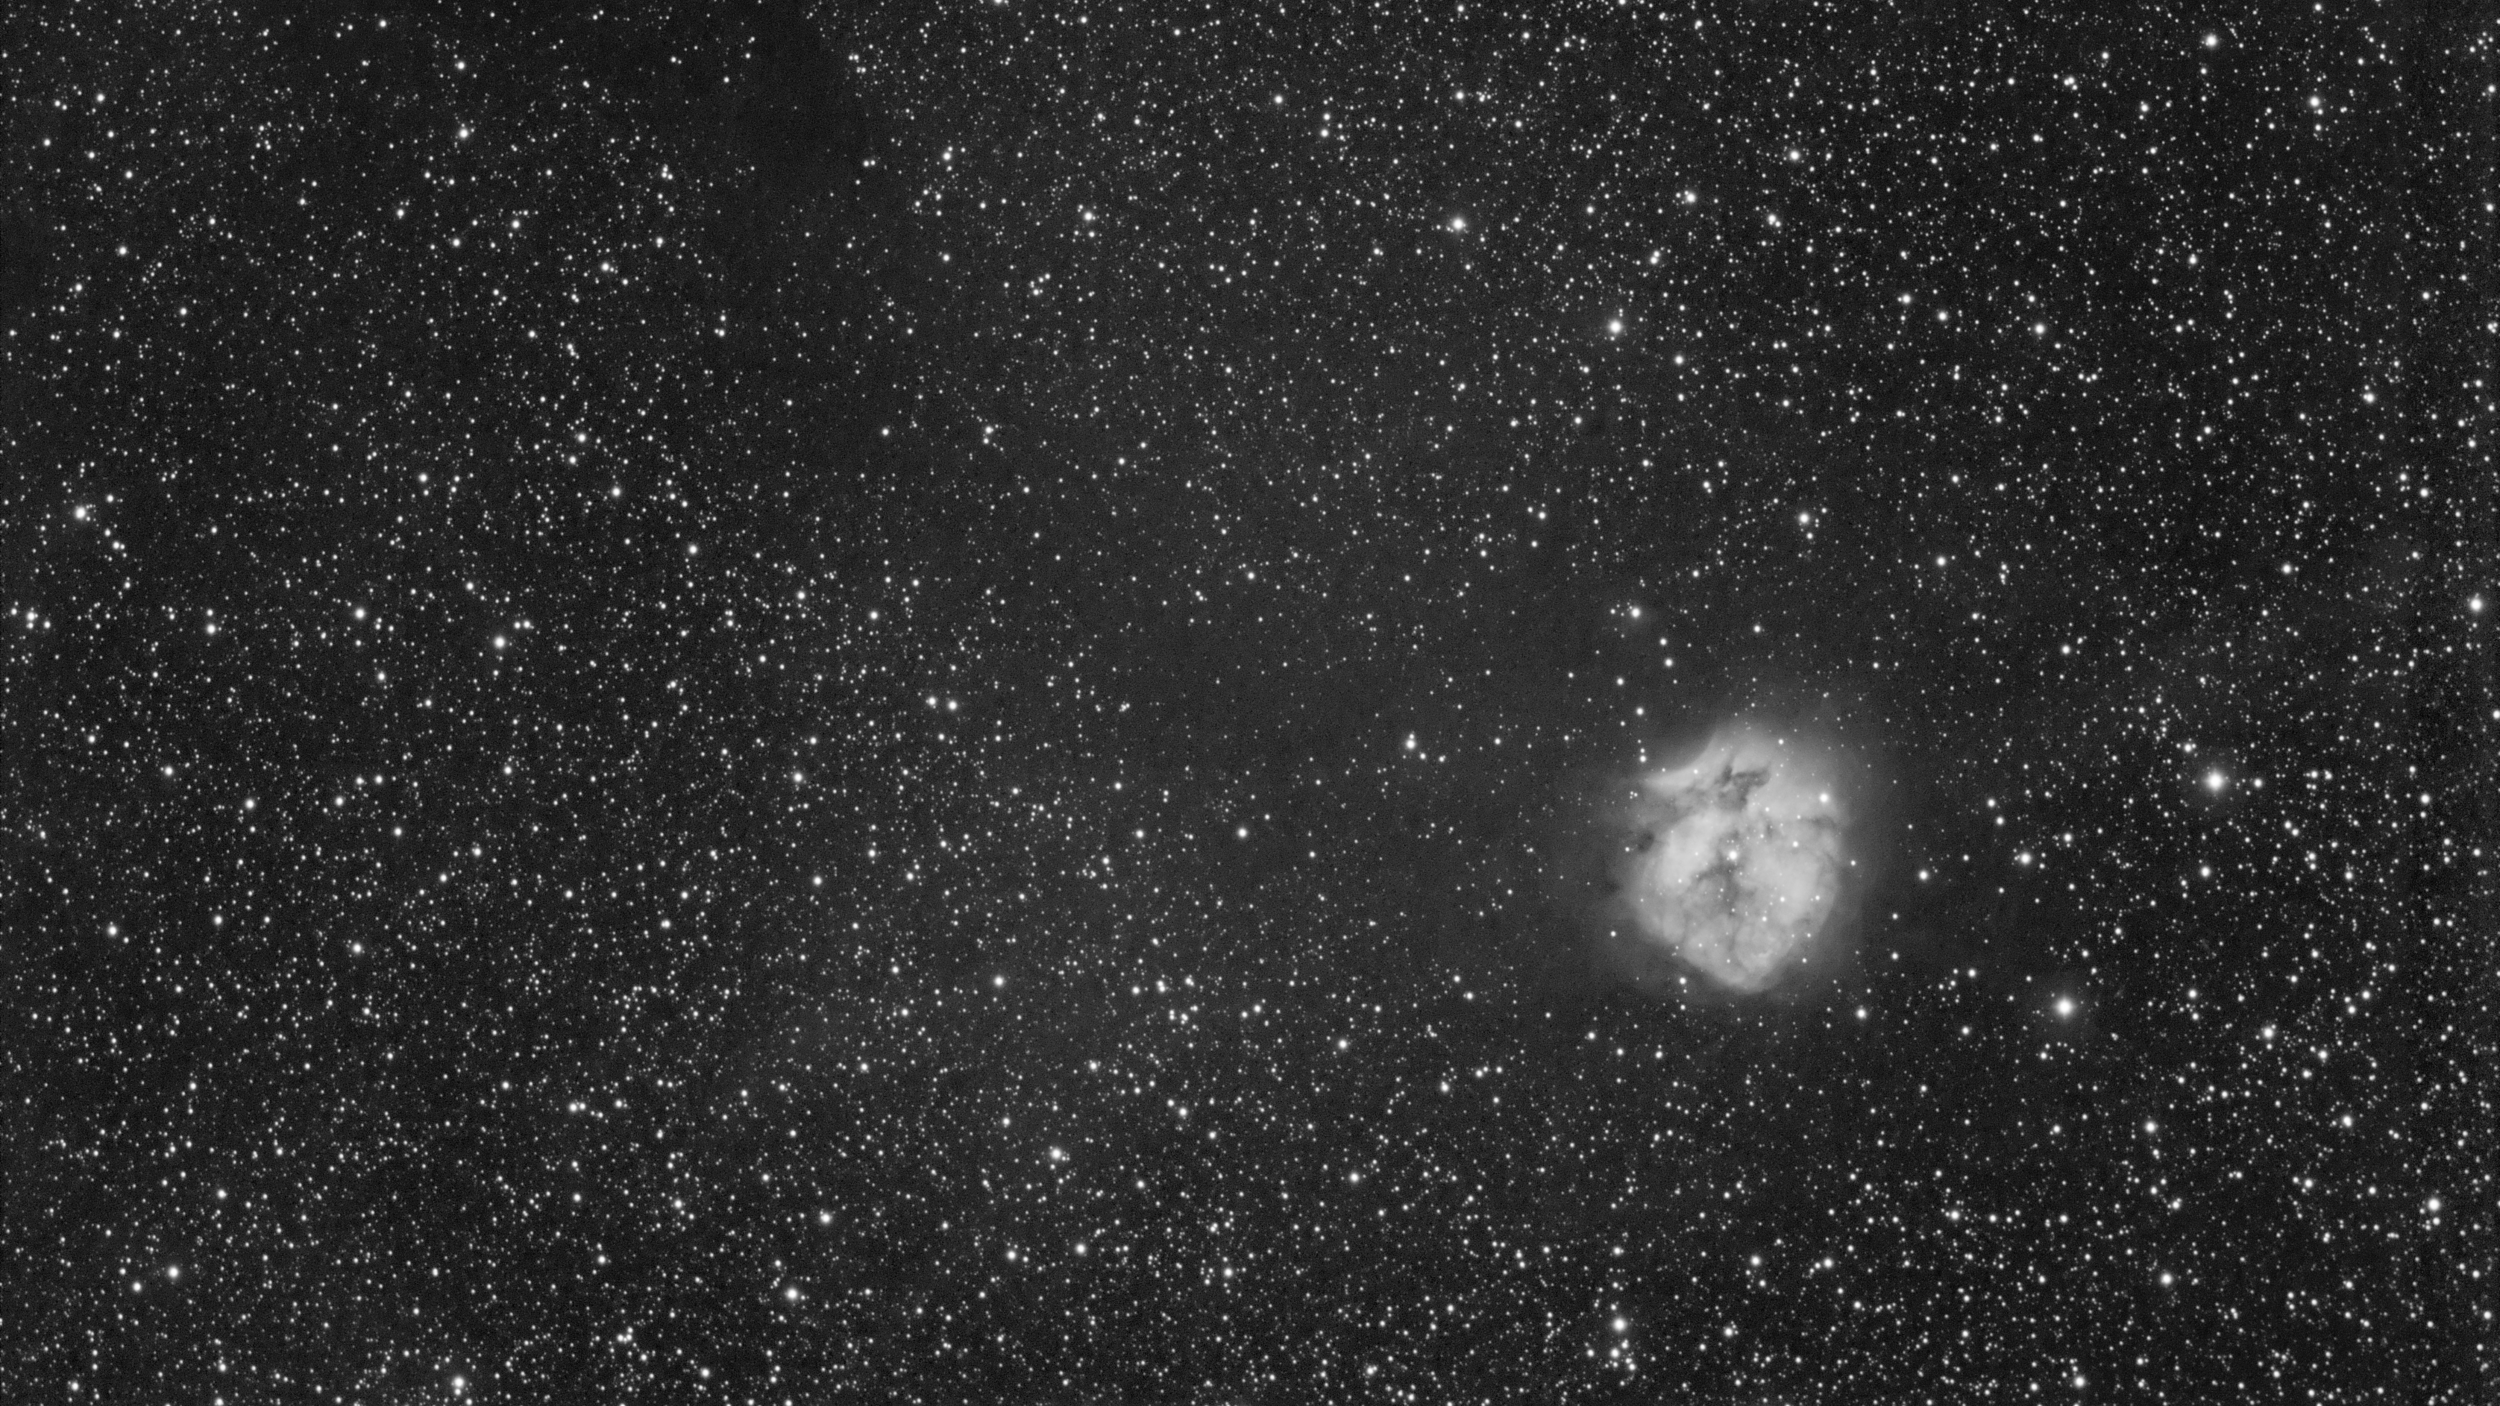
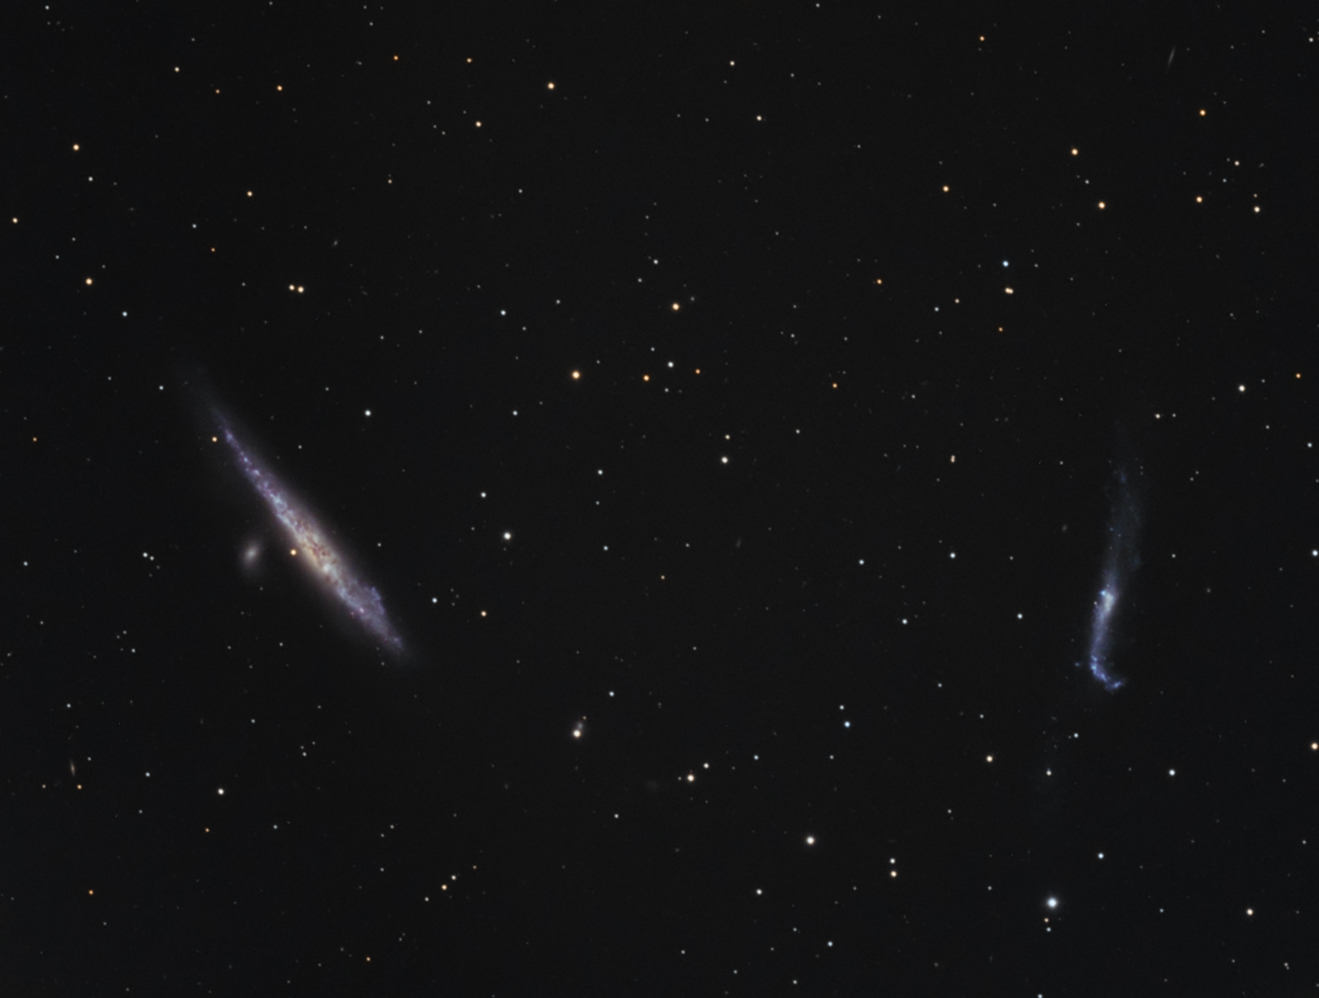
Here are some recent images taken with the Altlas Pro Alt/Az mount.


I’ve been a dedicated to Squarespace fan for 20 years. Love the product, people and company.