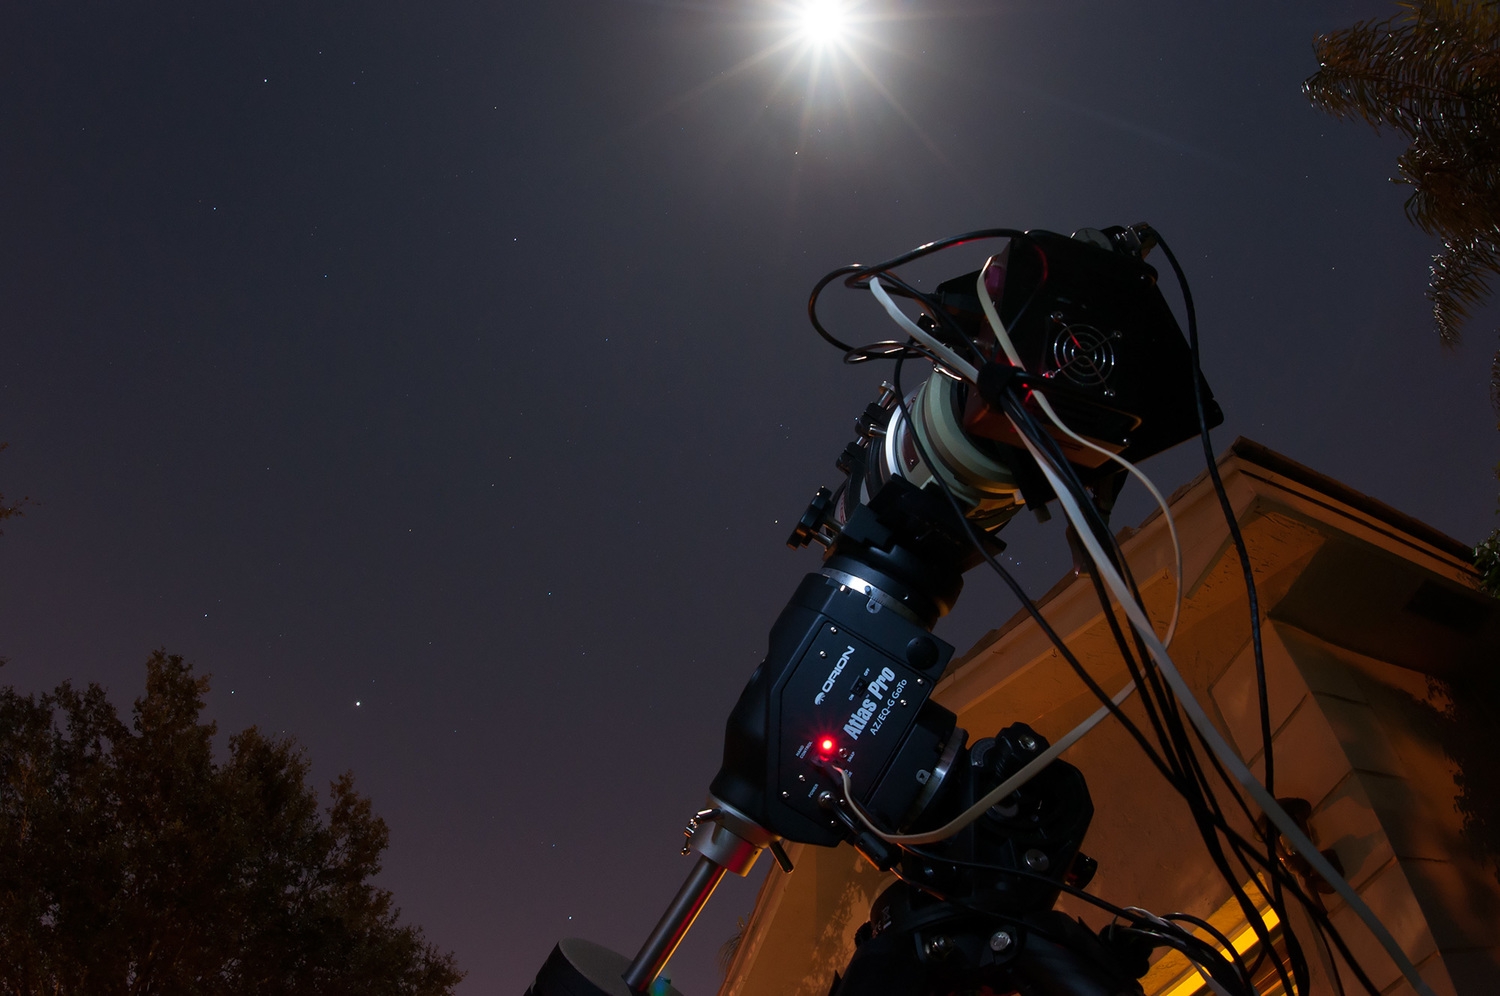
Orion Atlas - Iterative Polar Alignment without Polar Scope
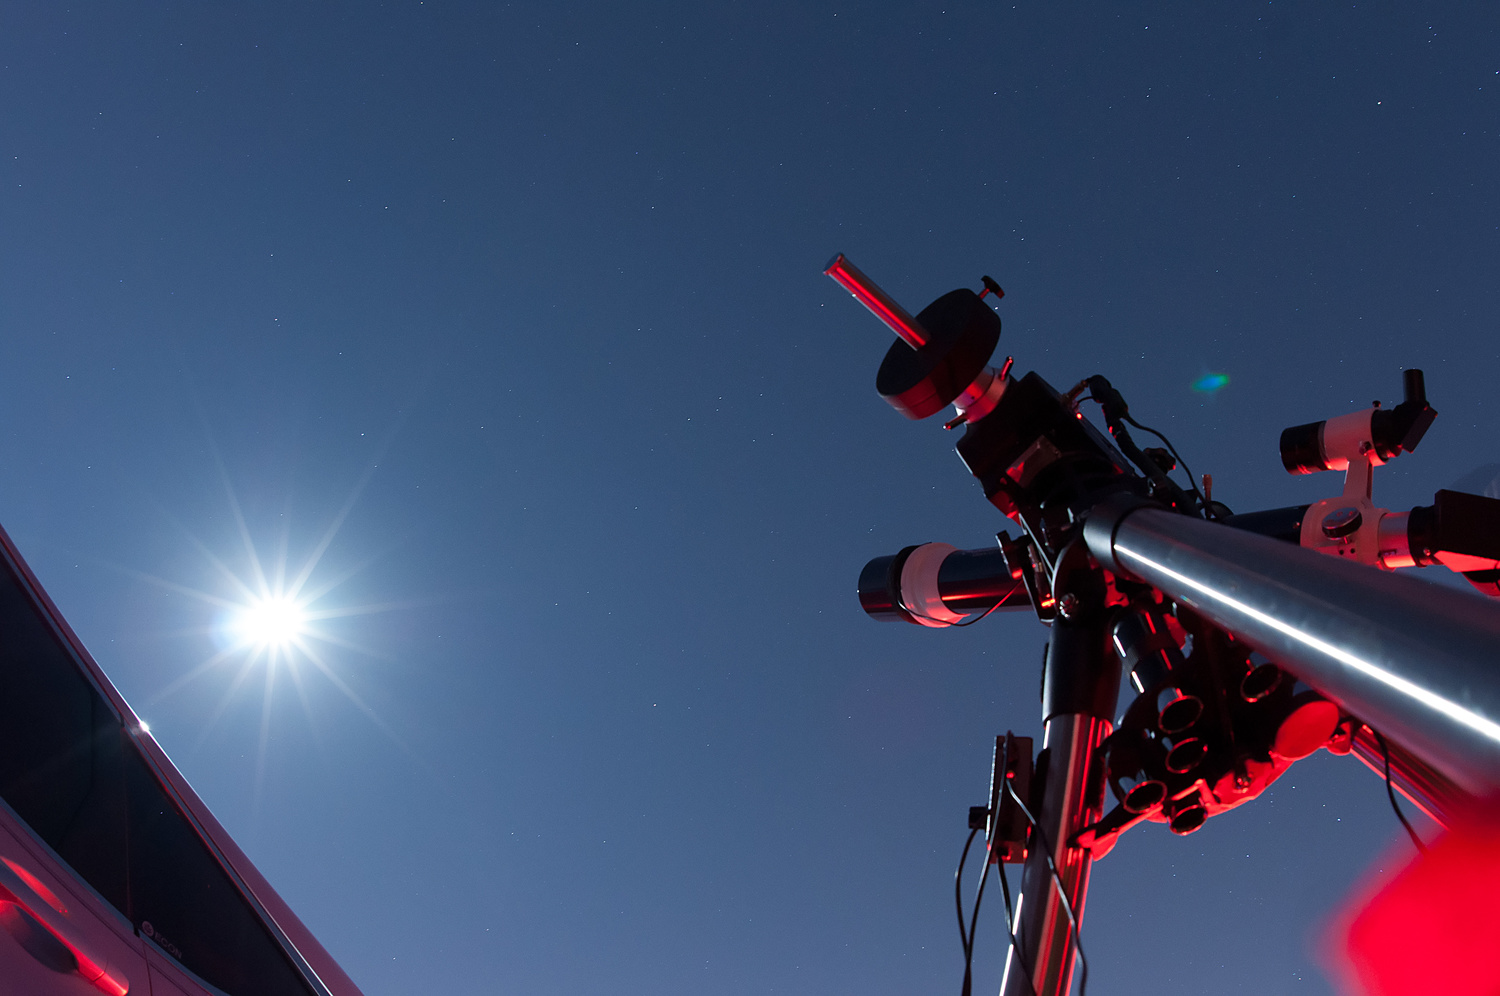
Polar alignment of your mount by means of the polar-axis finder scope is covered in the instruction manual for the mount. However, there is another, more accurate way to polar align. This software-based polar alignment routine can be performed without use of the polar-axis scope. You will need to use a reticle eyepiece for this procedure to ensure precise centering of the stars in the eyepiece field of view.
1. Complete a 2-star alignment or 3-star alignment. At the end of the alignment, the SynScan hand controller will display the polar alignment error (refer to Section 5.16). Based on the error given, you can decide whether it is necessary to adjust the polar alignment.
2. Press the “SETUP” shortcut key, and then access to sub-menu “Alignment\Polar Align. >”. Press the ENTER key to proceed to the next step.
3. The screen will display “Select a Star”. • Use the scroll keys to browse through a list of star names and press the ENTER key to pick one as the reference star for polar alignment. • The mount will start slewing to point the telescope to the reference star.
4. Use the direction keys to center the reference star in the eyepiece of the telescope after the mount stops slewing. Remember to end the centering operation with Up and Right direction keys. Press the ENTER key to proceed to the next step.
5. The screen will now display the polar alignment error in altitude (Mel=dd’mm’ss”). You can then use the data to determine whether or not to adjust the altitude of the R.A. axis. Press the ENTER key again to proceed to the next step.
6. The mount will slew to a new position. When it stops, the screen will display “Adjust Altitude:”. By using ONLY the altitude adjustment mechanism of the mount (DO NOT touch the azimuth adjustment mechanism, DO NOT use the direction keys on the hand controller), bring the reference star back to the closest point to the center of the FOV of the telescope’s eyepiece. Remember the reference star’s position in the eyepiece for later adjustment. Press the ENTER key to confirm the centering operation.
7. The screen will now display the polar alignment error in azimuth (Maz=dd’mm’ss”). You can then use the data to determine whether or not to adjust the azimuth of the mount. Press the ENTER key again to proceed to the next step.
8. The mount will slew to a new position. When it stops, the screen will display “Adjust Azimuth:” By using ONLY the azimuth adjustment mechanism of the mount (DO NOT touch the altitude adjustment mechanism, DO NOT use the direction keys on the hand controller), bring the reference star back to the closest point to the previous position (at the end of Step 6). Press the ENTER key to confirm the centering operation.
9. The screen will display the polar alignment error again, press the ENTER button to end the polar alignment process. It should be an improvement over what was given in Step 1.
10. Go back to the “Alignment” menu on the SynScan hand controller and execute another 2-Star or 3-Star alignment, and then check the polar alignment error data reported at the end of the 2-star alignment or 3-star alignment. Repeat Step 2 to Step 8 until the error is small enough to be acceptable. Generally, you can expect to get up to 1 arc-minute polar alignment accuracy after repeating this polar alignment process 2 or 3 times.
If you don't see this option in your hand paddle then you more than likely need to update the your firmware.
I’ve been a dedicated to Squarespace fan for 20 years. Love the product, people and company.